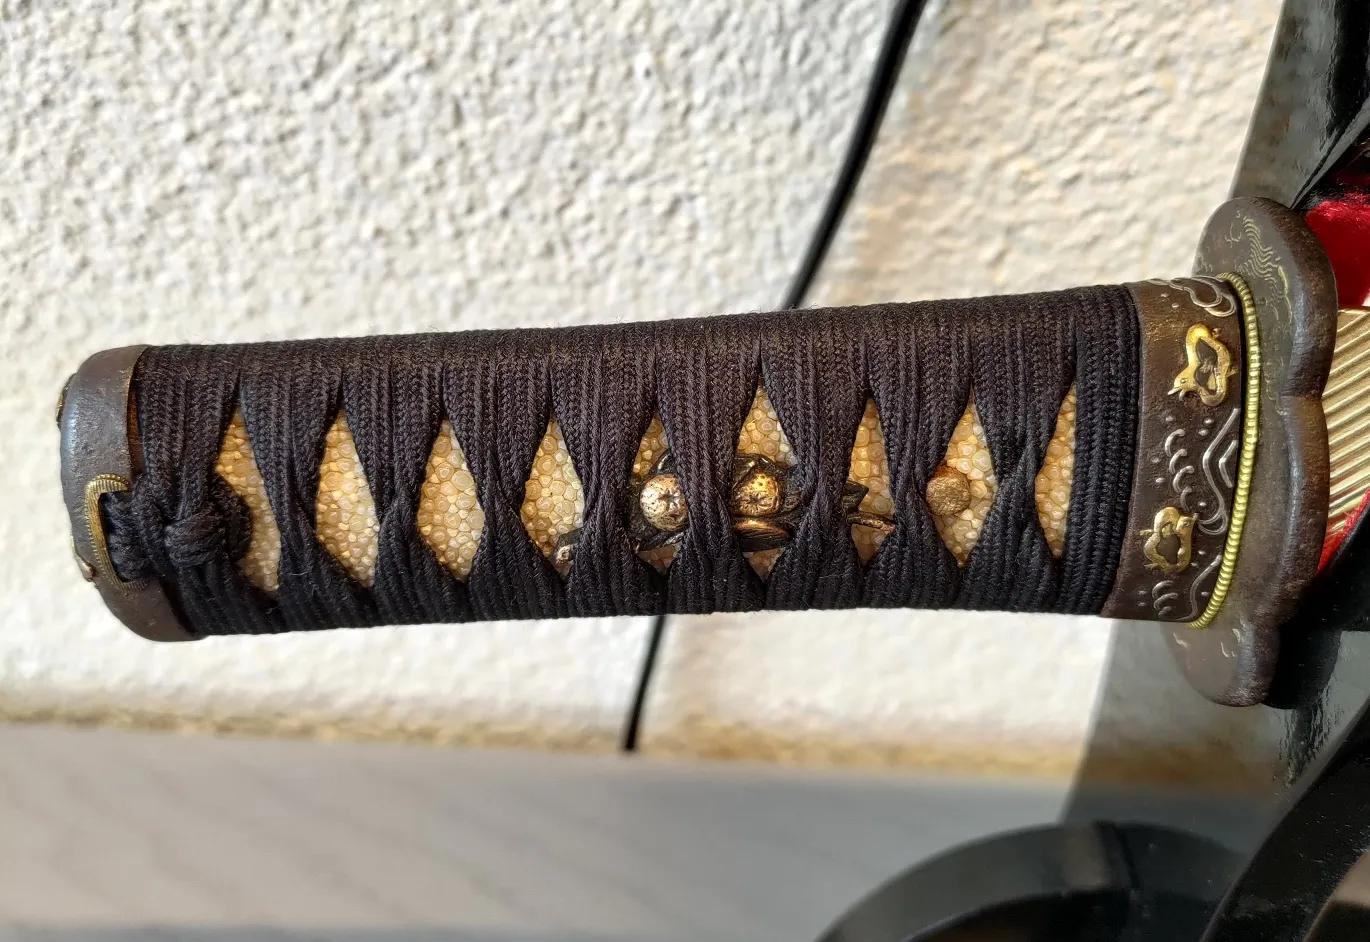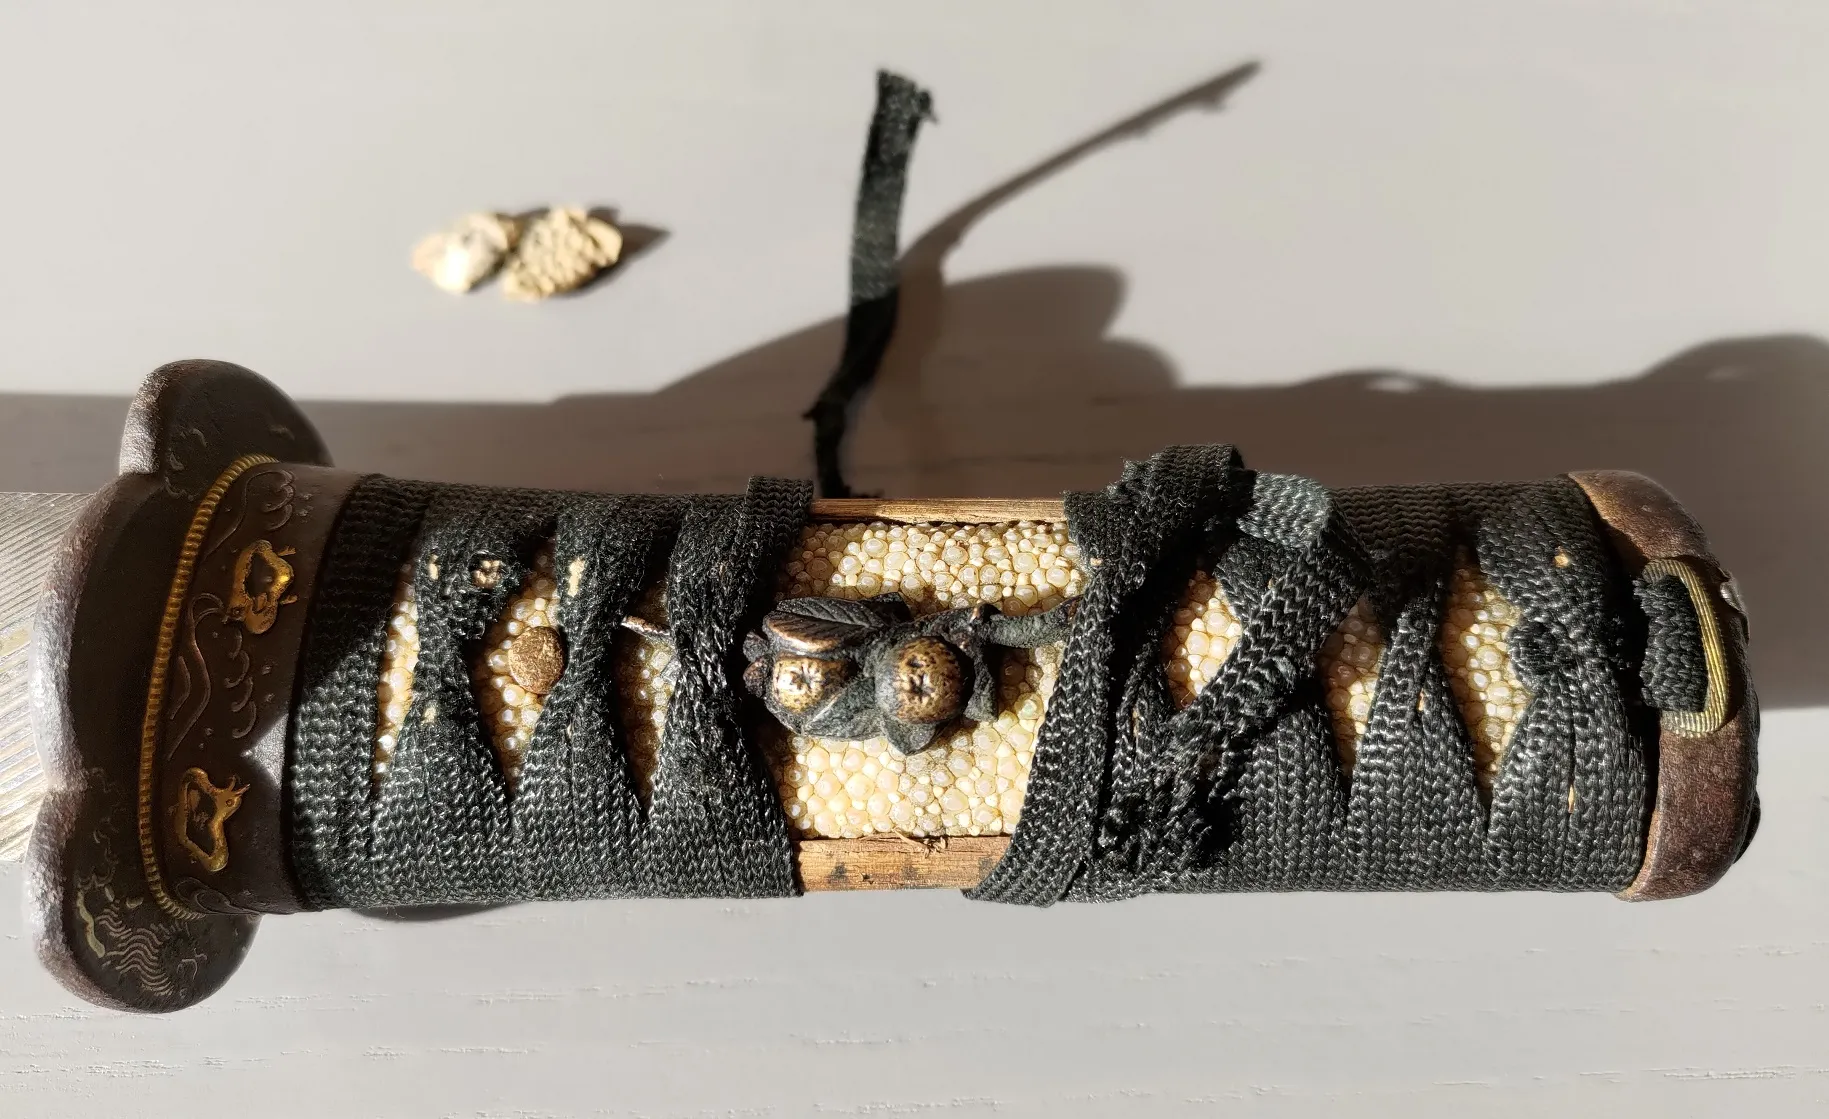
The first antique Japanese sword I bought is a Wakizashi from the Edo period, which I got from my Iaido sensei. The blade is estimated to be about 350 years old, and the handle could be up to 200 years old. The previous silk wrappings were probably newer, but it’s hard to say.
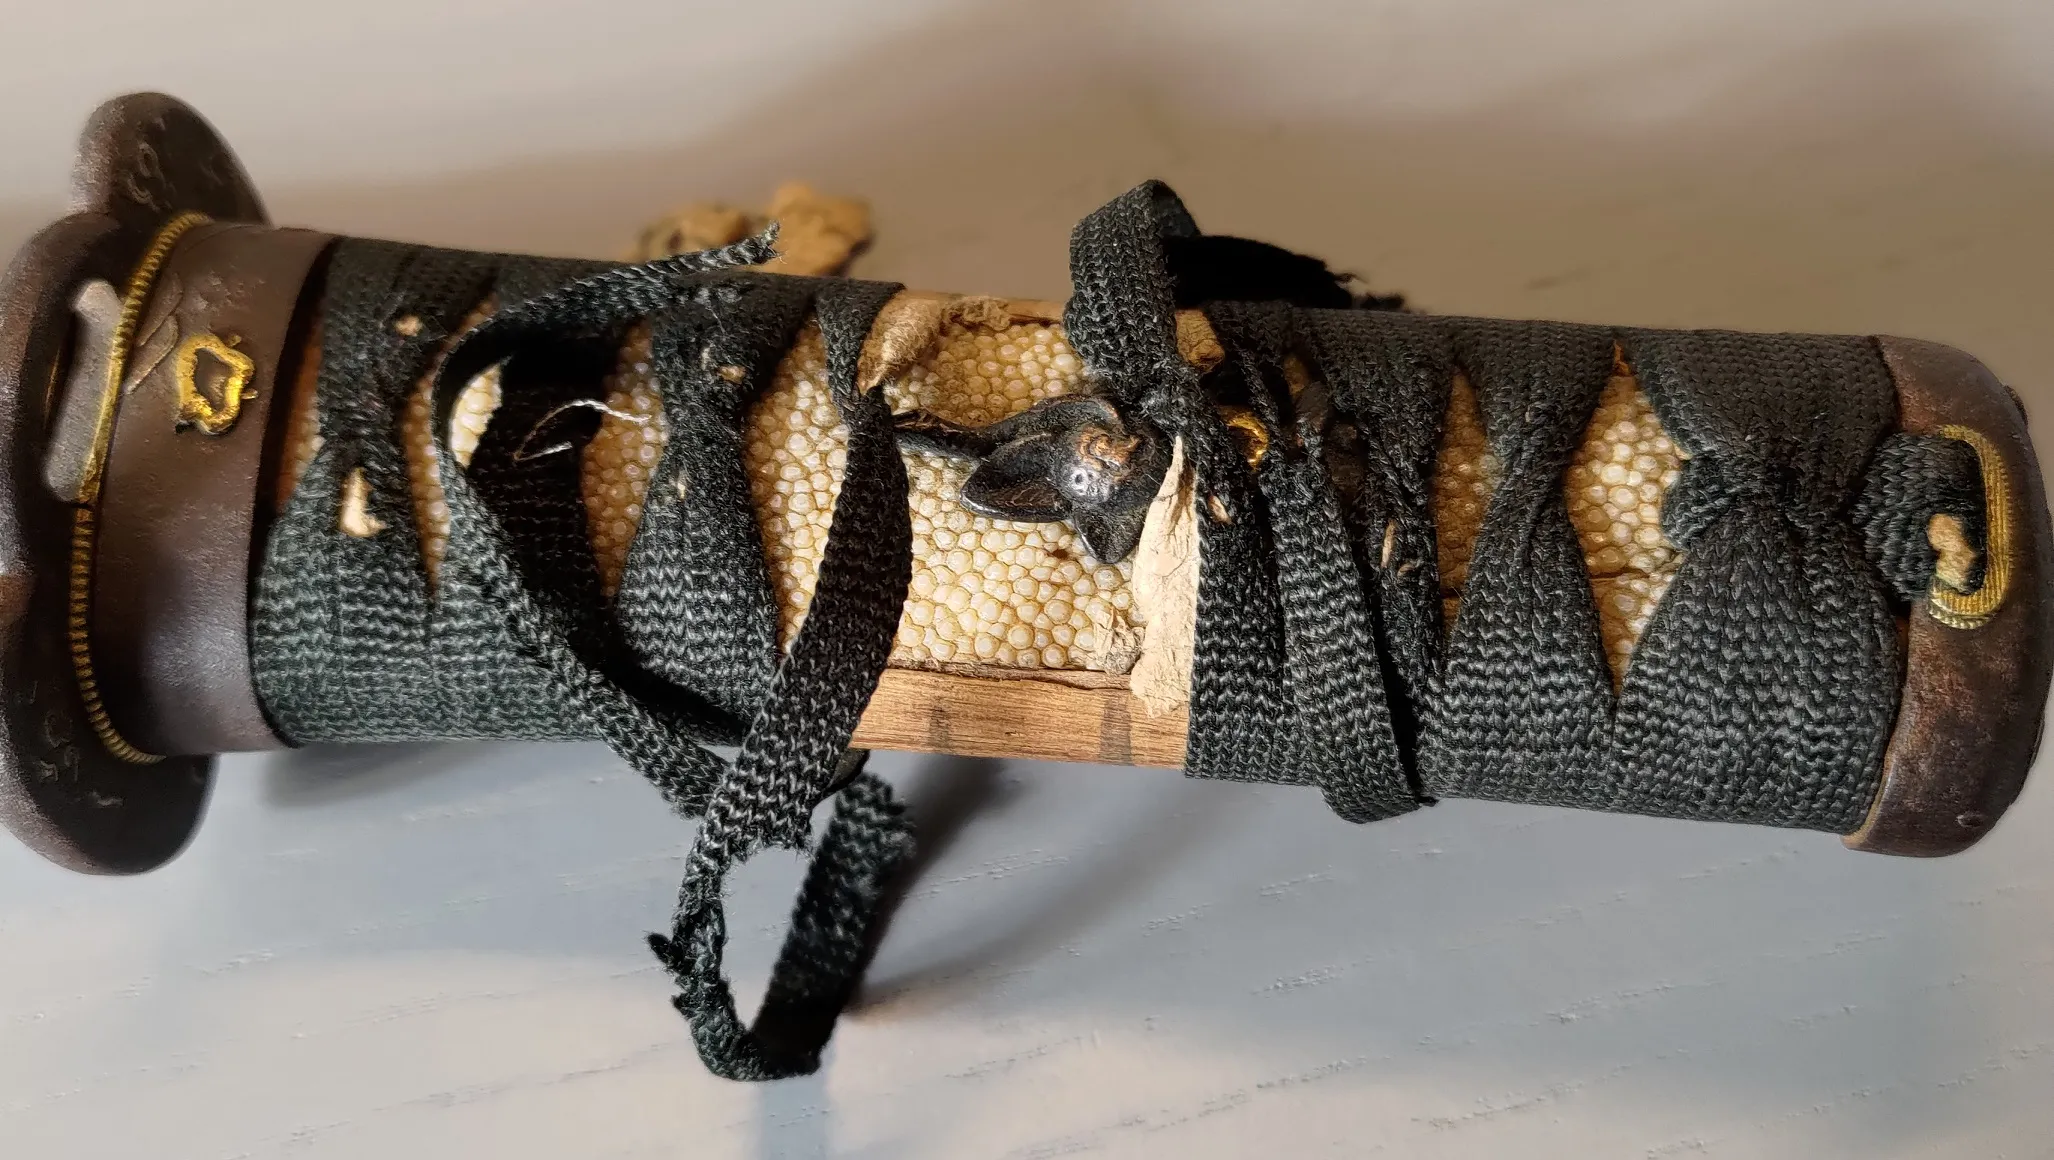
After some occasional hands-on time for maintenance and such, the silk wrapping finally broke. I managed to acquire an instructional DVD in Japanese (yes, it was a pain) and some repair materials from Japan, so I decided to do it myself. I did this one after having some hands-on instruction from my sensei while building up another antique sword together with him.
Prep work
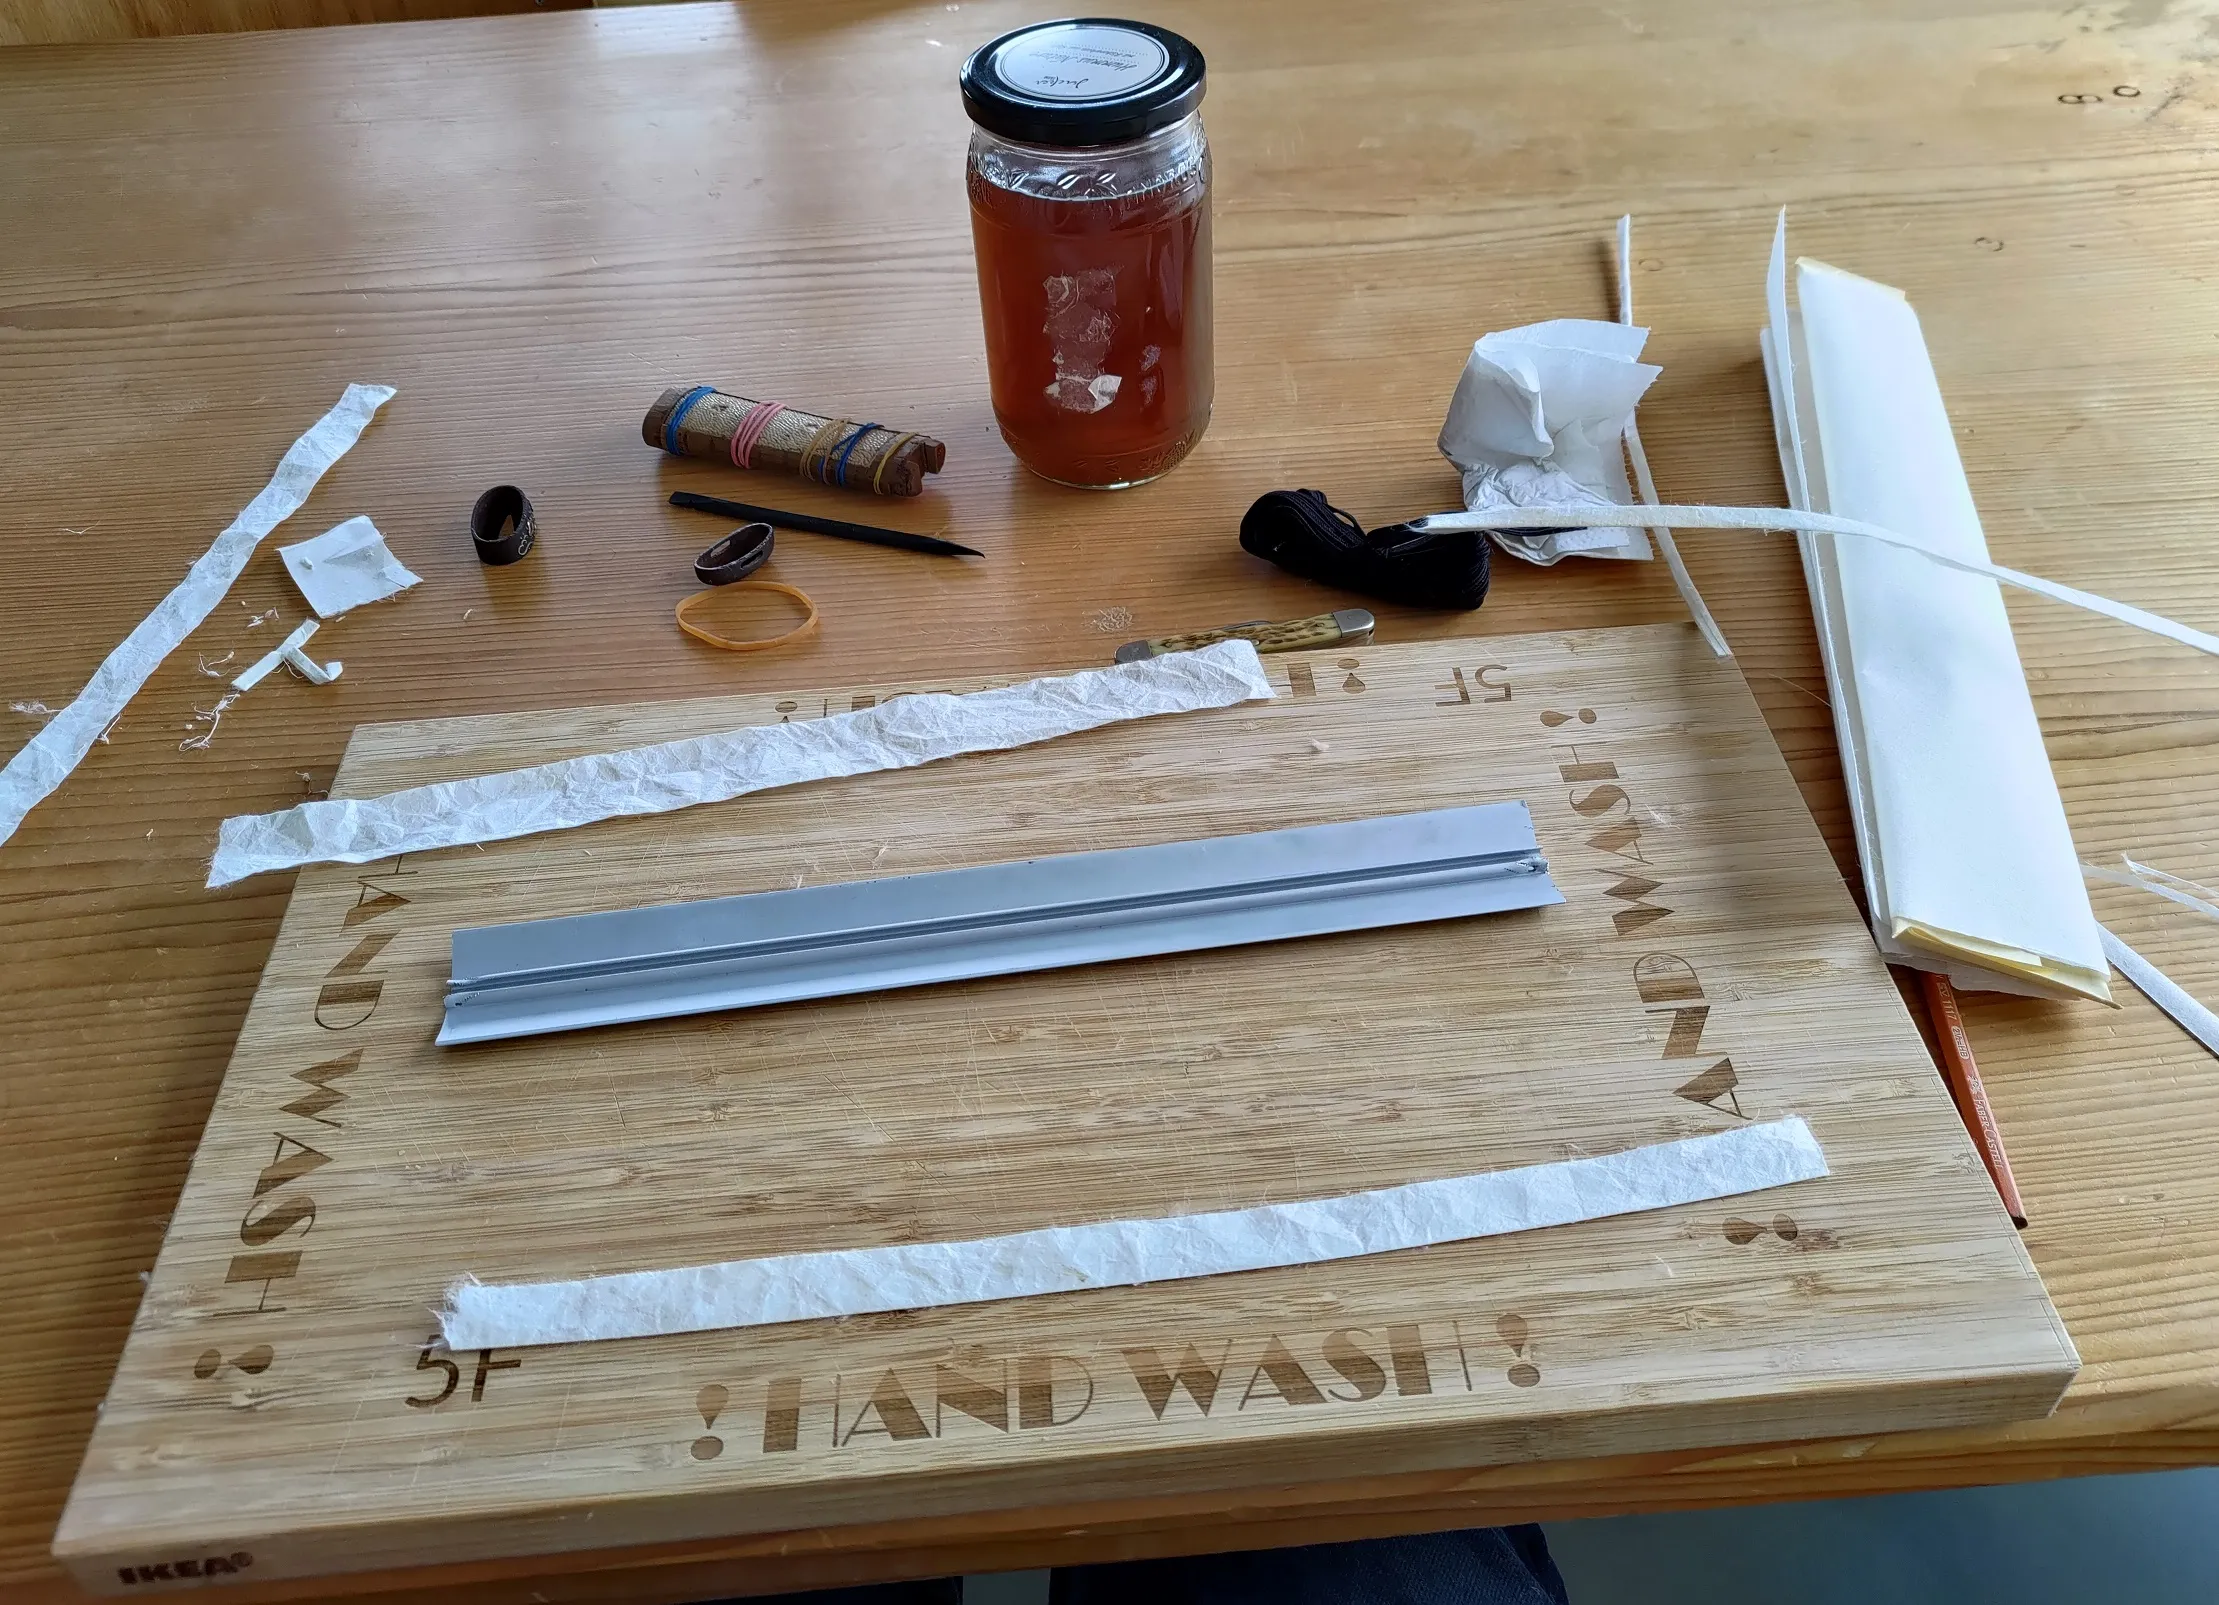
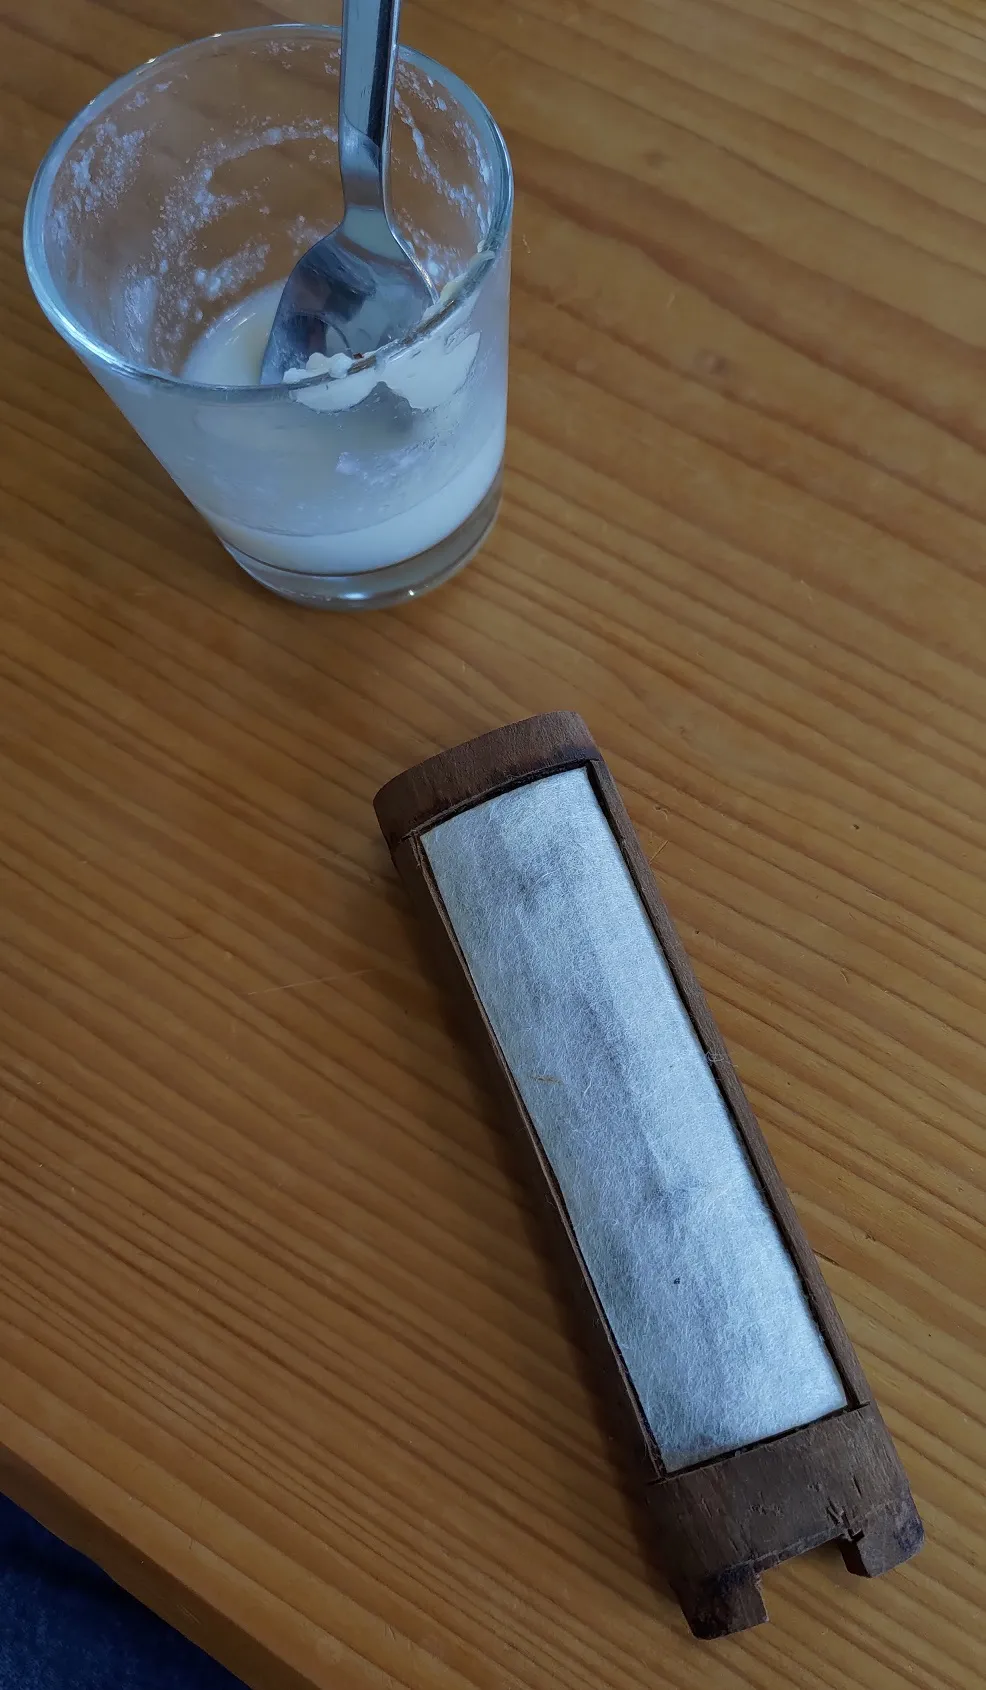
The first thing was to figure out where to get rice glue in Switzerland. Answer: make it yourself, it’s easy. The next thing was the glue used under the silk wrapping to keep it tight on the handle. Answer: again, mostly make it yourself. It turns out the rosin used for string instruments plus flax seed oil (IIRC) makes exactly the glue needed for this. I just needed to carefully melt it and mix it together in a double boiler.
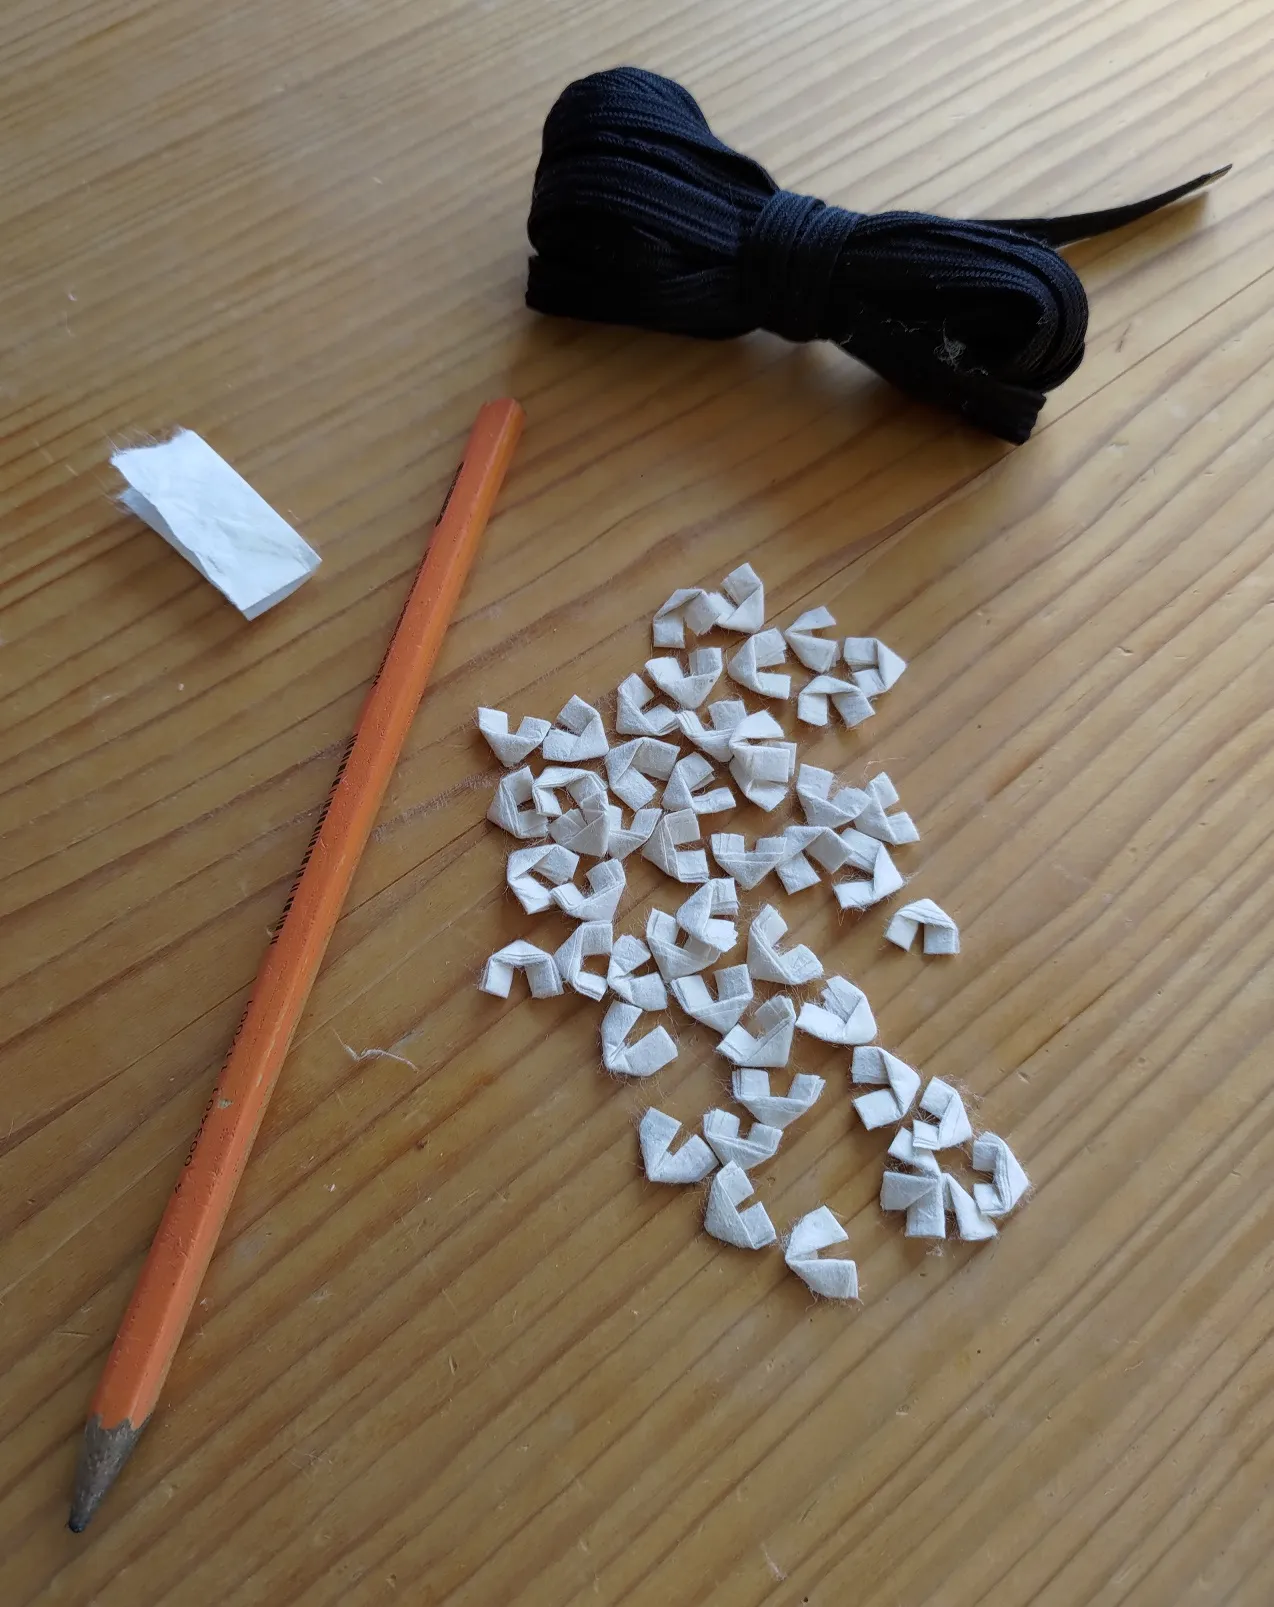
The final thing was to fold a bunch of the paper triangles that are used inside the folds of the wrappings. The purpose of this, I believe, is to help keep the tension on the wraps and to give some cushion to the grip for comfort. The paper needs to be a special traditional Japanese paper, which is not acidic and therefore won’t destroy the silk and the wood. Likewise, the rice glue and the other glue. The original paper was probably prayer slips used in the temples and such in Japan; that’s also what my sensei usually uses. I tried to unfold some of it, but I couldn’t really make out the text.
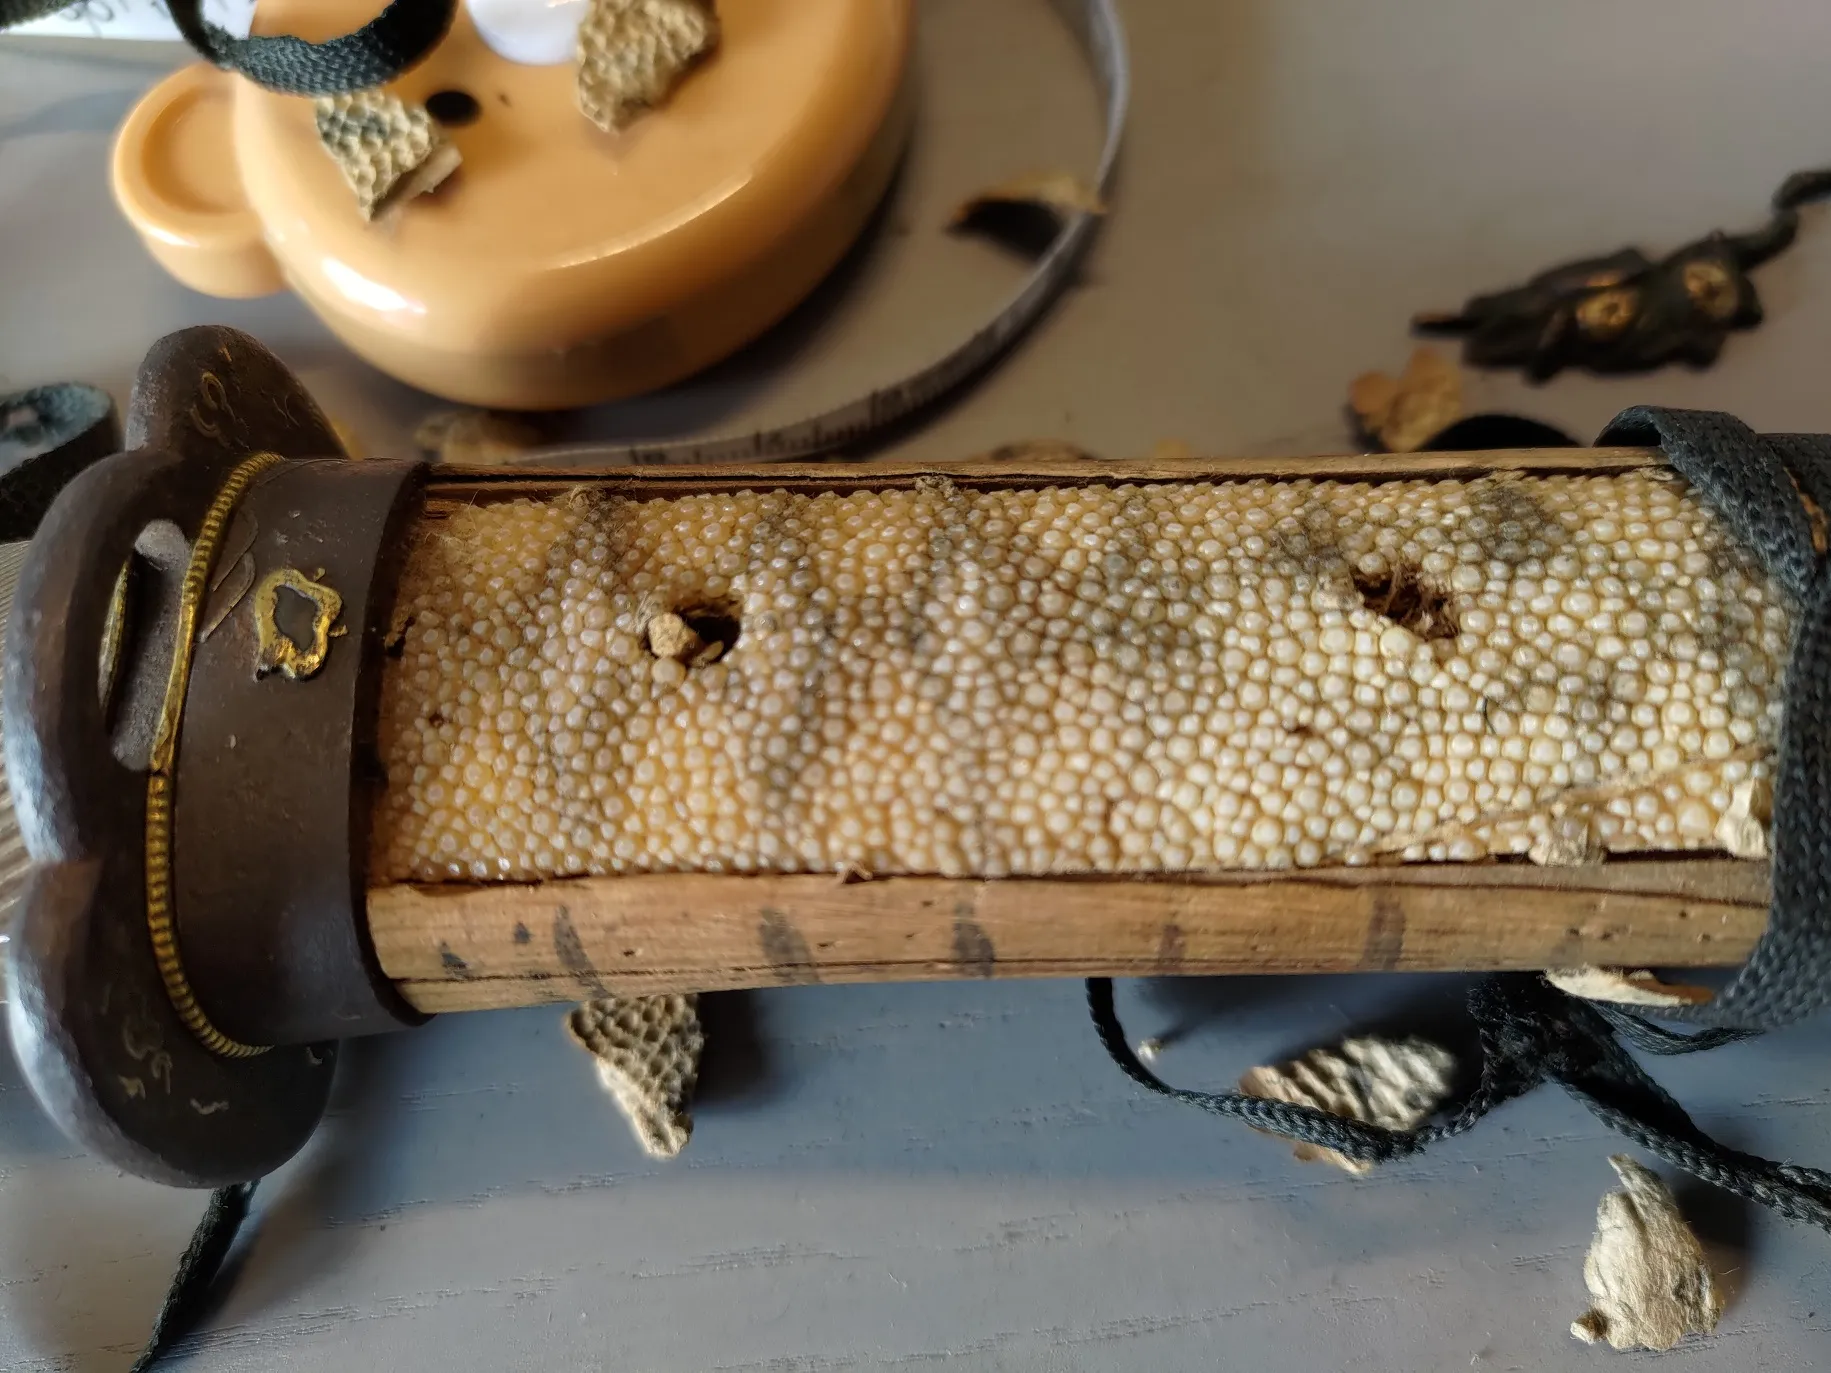
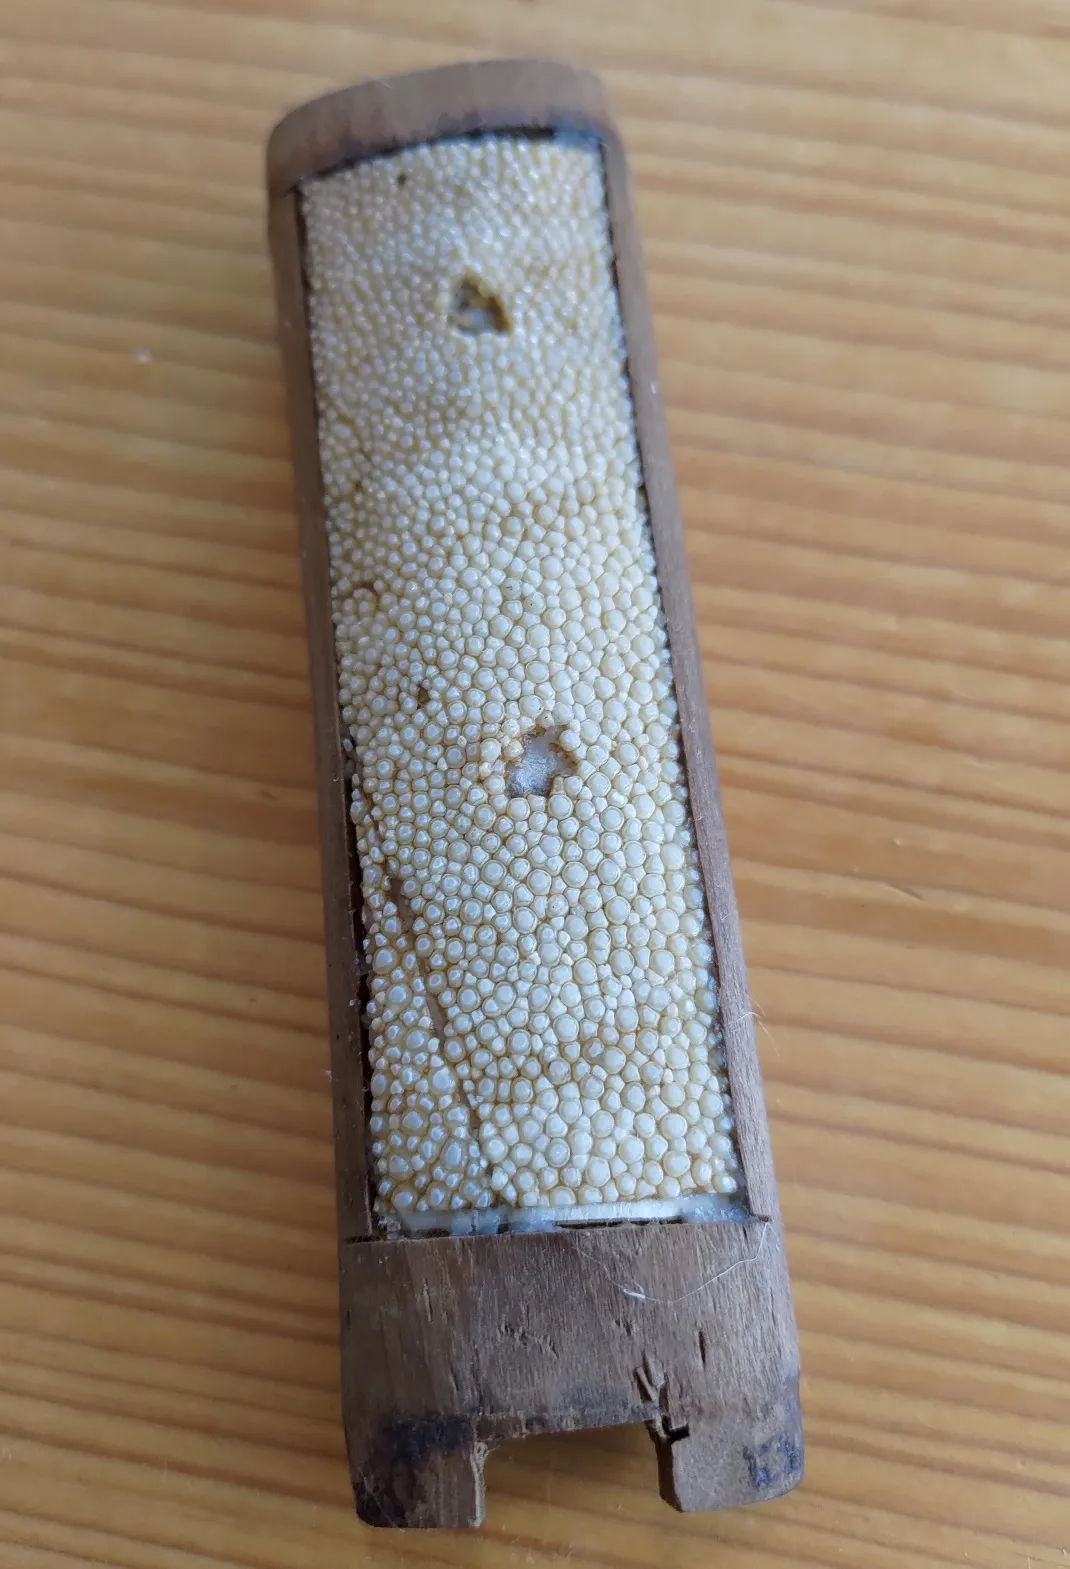
So to start the actual repairs, I removed the old wrappings and very carefully disassembled the handle, making pictures along the way to help me remember where things go. I cleaned it up carefully with a brush, and then I put a base layer of rice paper direcly on the wood where the ray skin panels would go. I found this to be the case on the original handle, so I just copied it. This is not something I have seen my sensei doing, though.
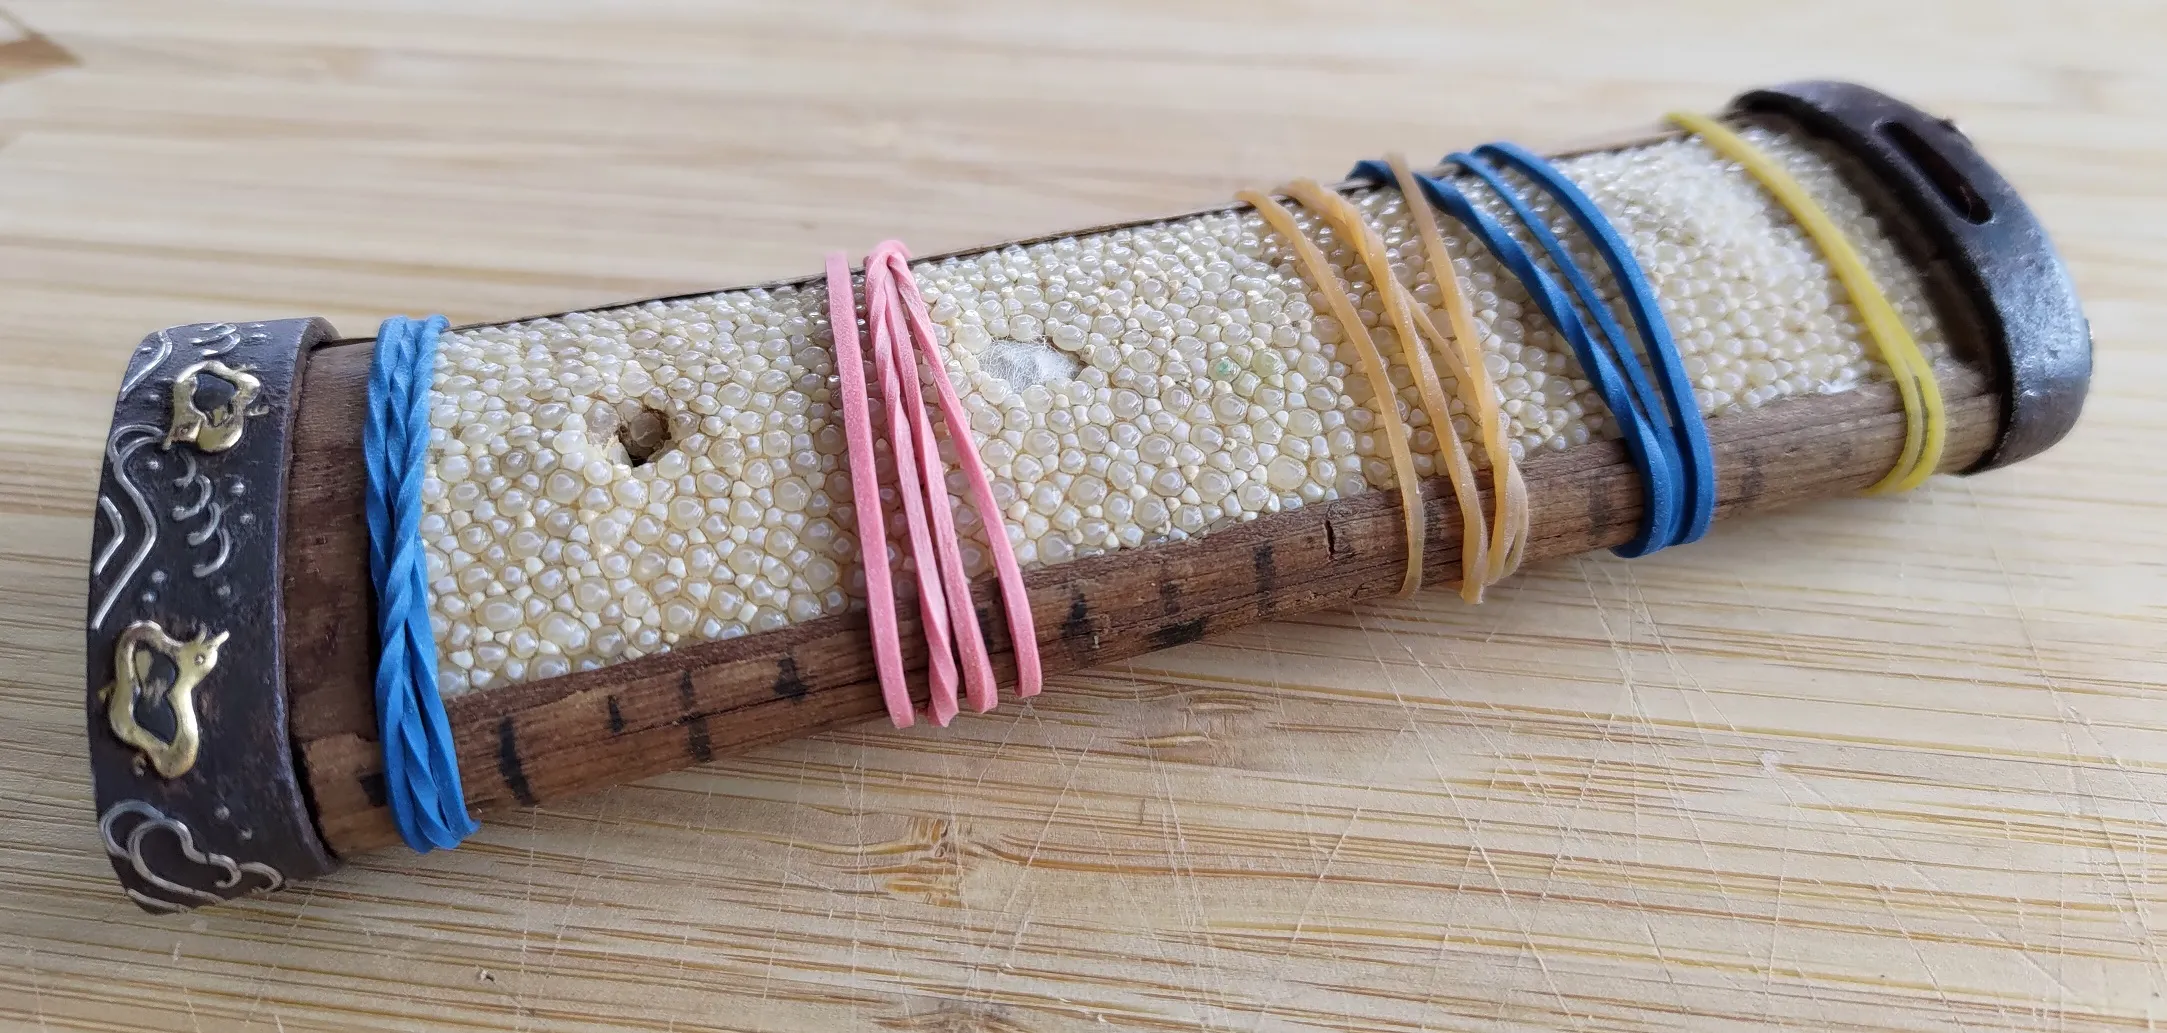
After that, I glued the ray skin onto the rice paper, assembled everything, and let it dry with rubber bands holding it all together. Since one piece of ray skin was broken off (and had always been), I needed to be a little careful of it going forward. While it was drying, I took some time to really clean up the metal parts - especially the menuki (the little figures that get wrapped into each side of the handle).

Wrapping
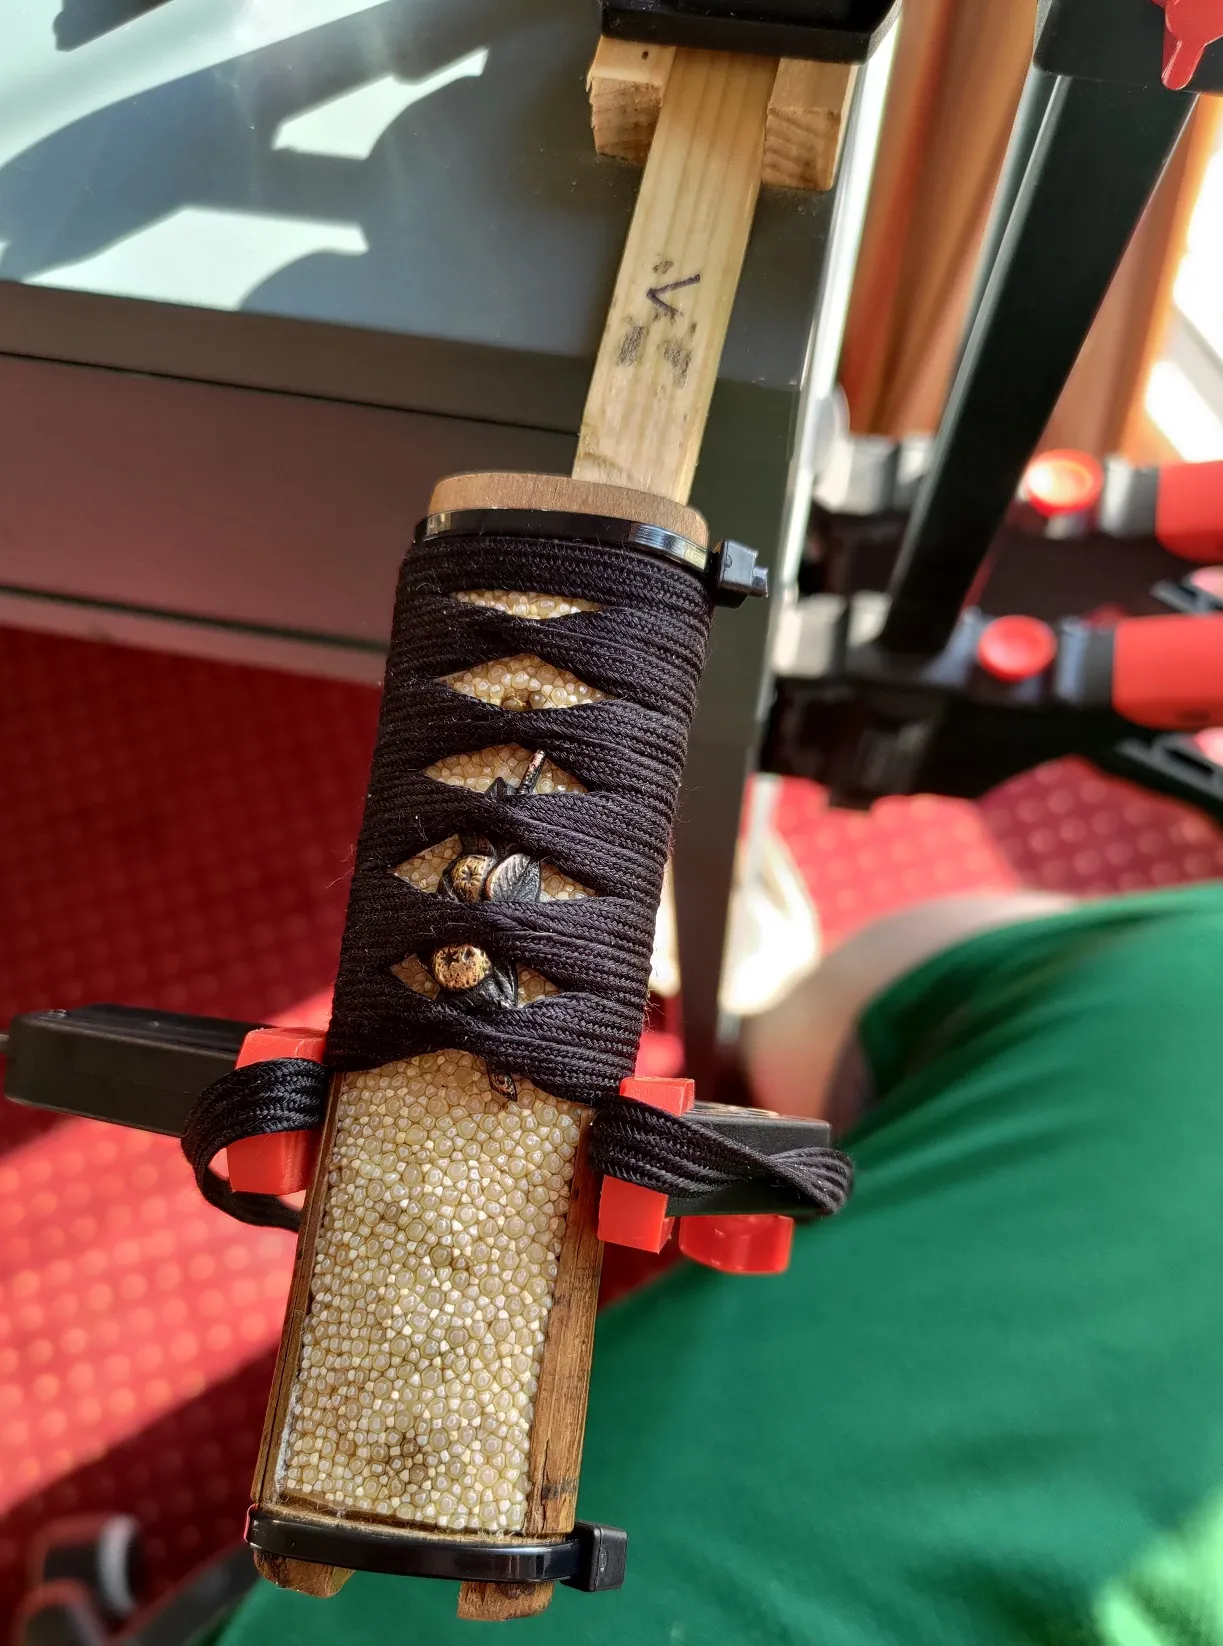
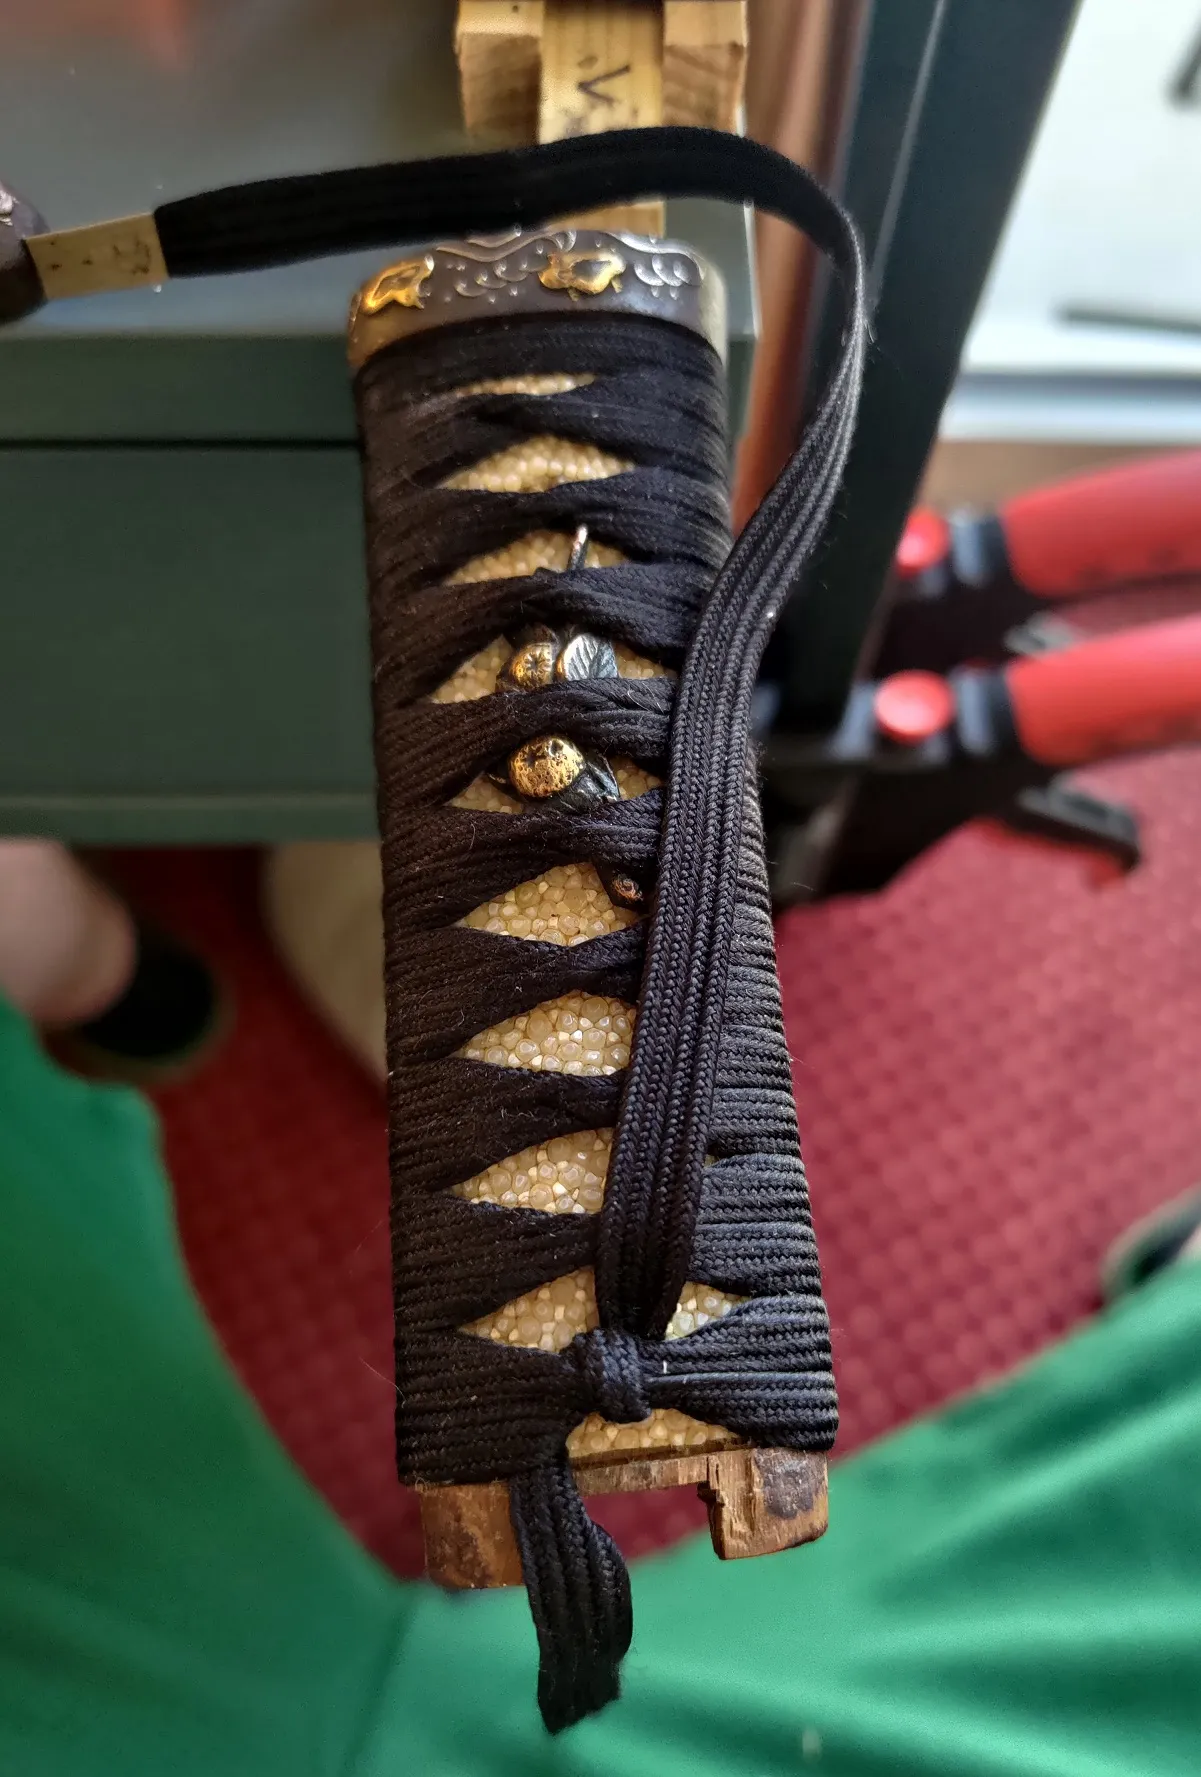
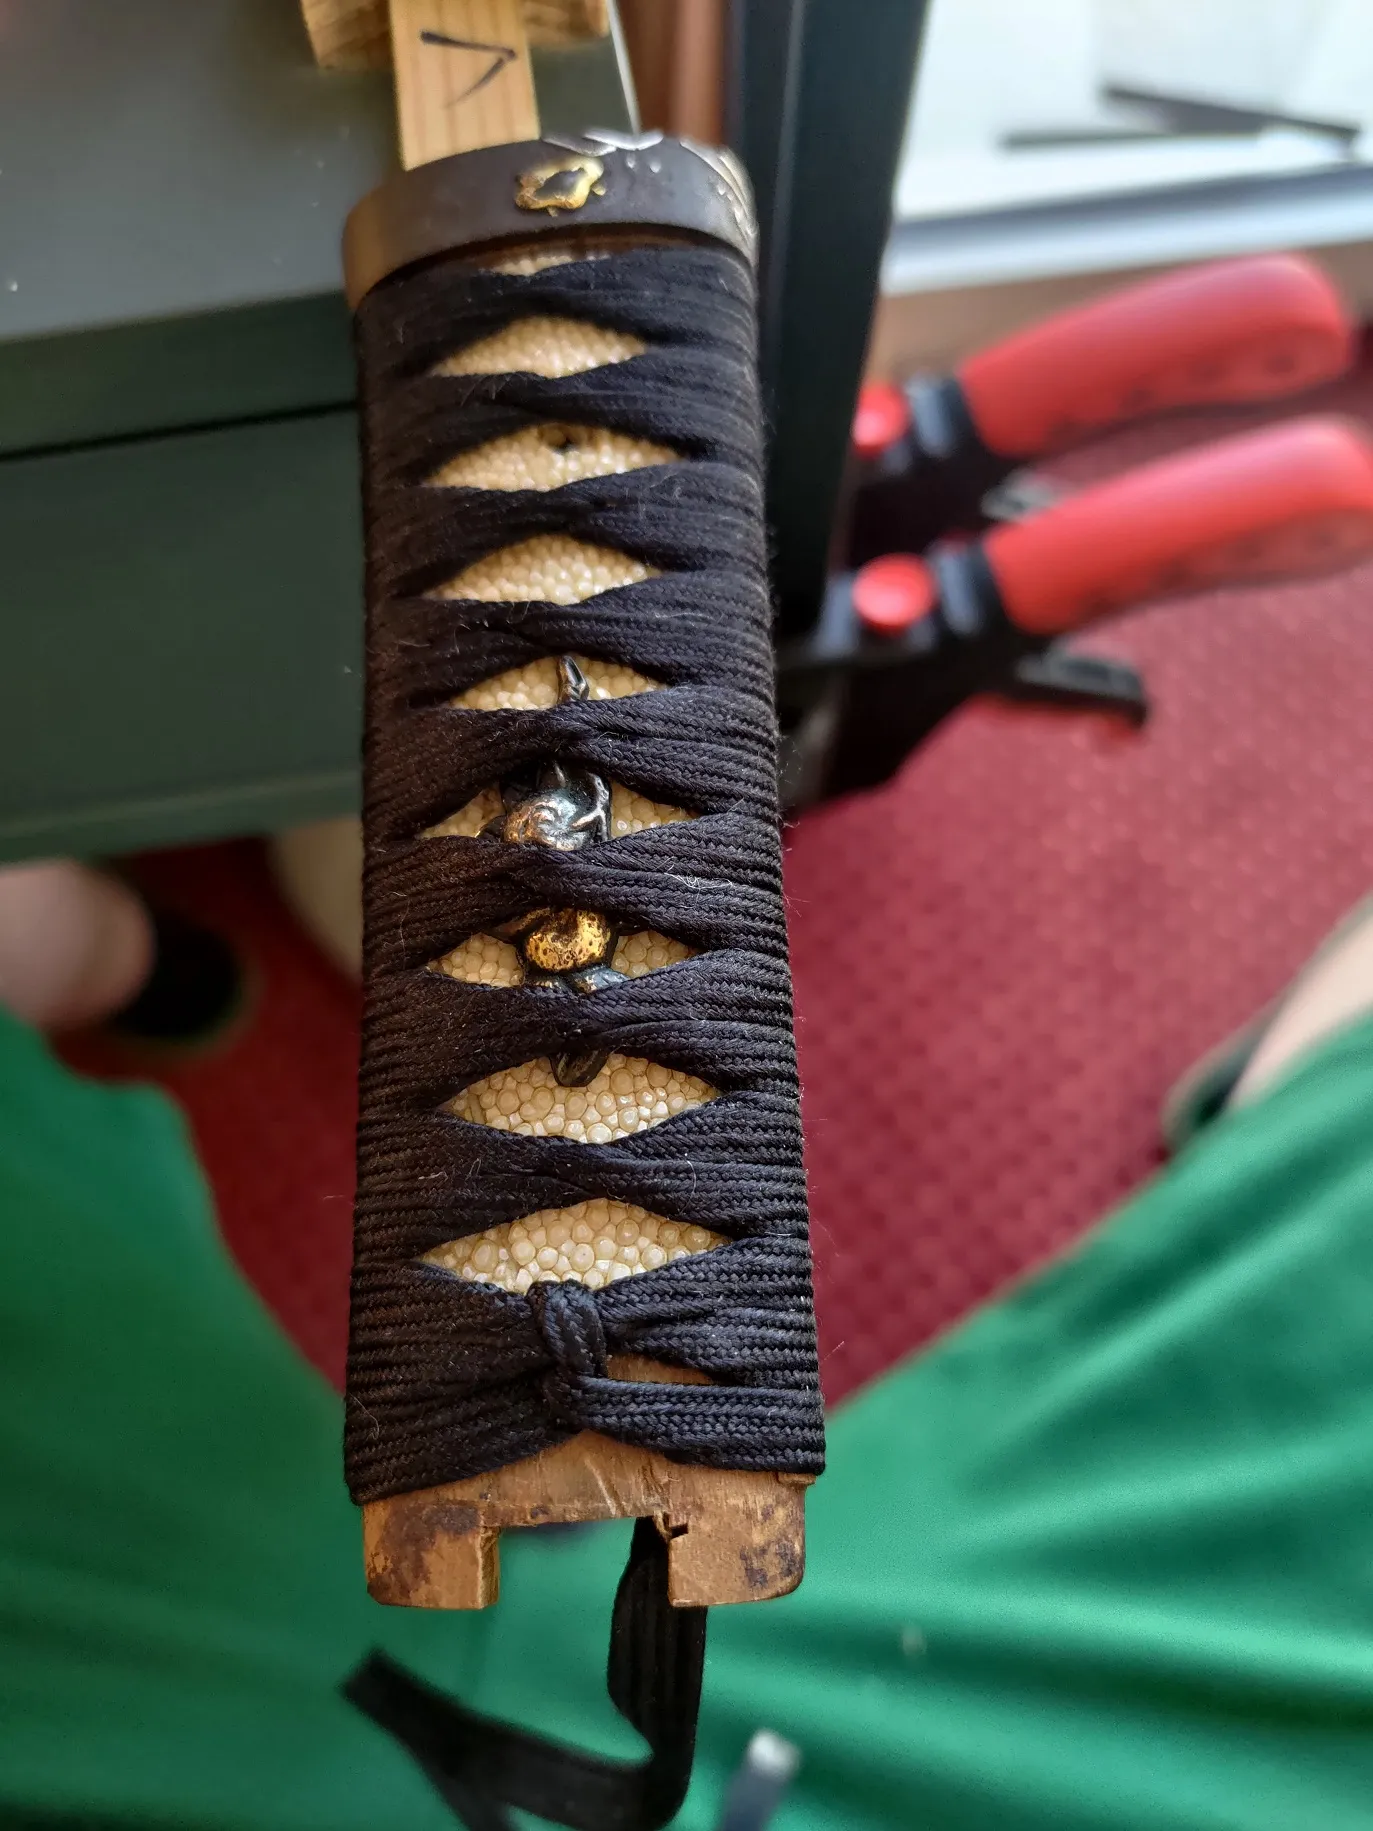
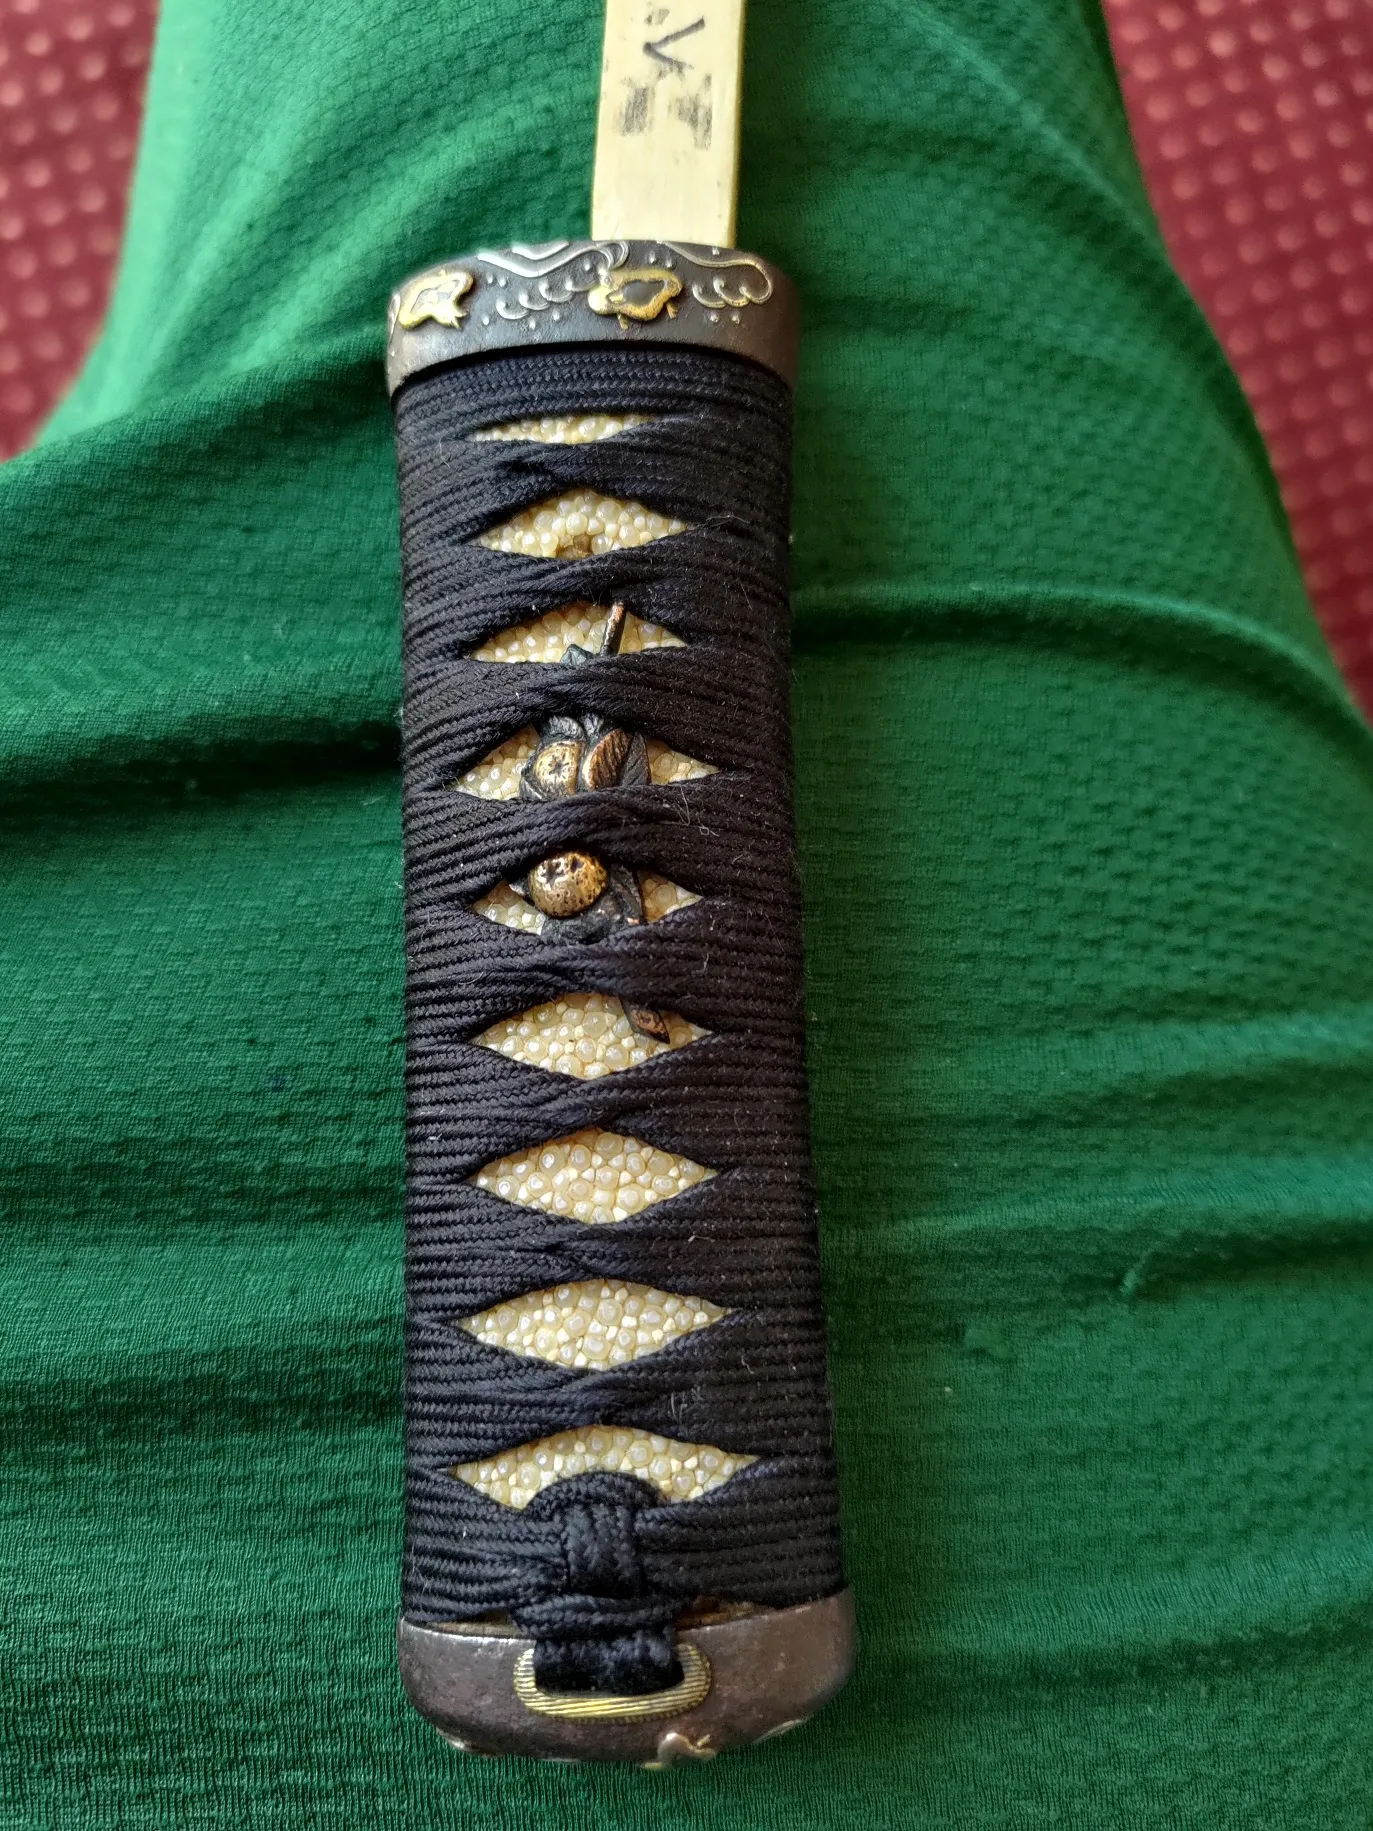
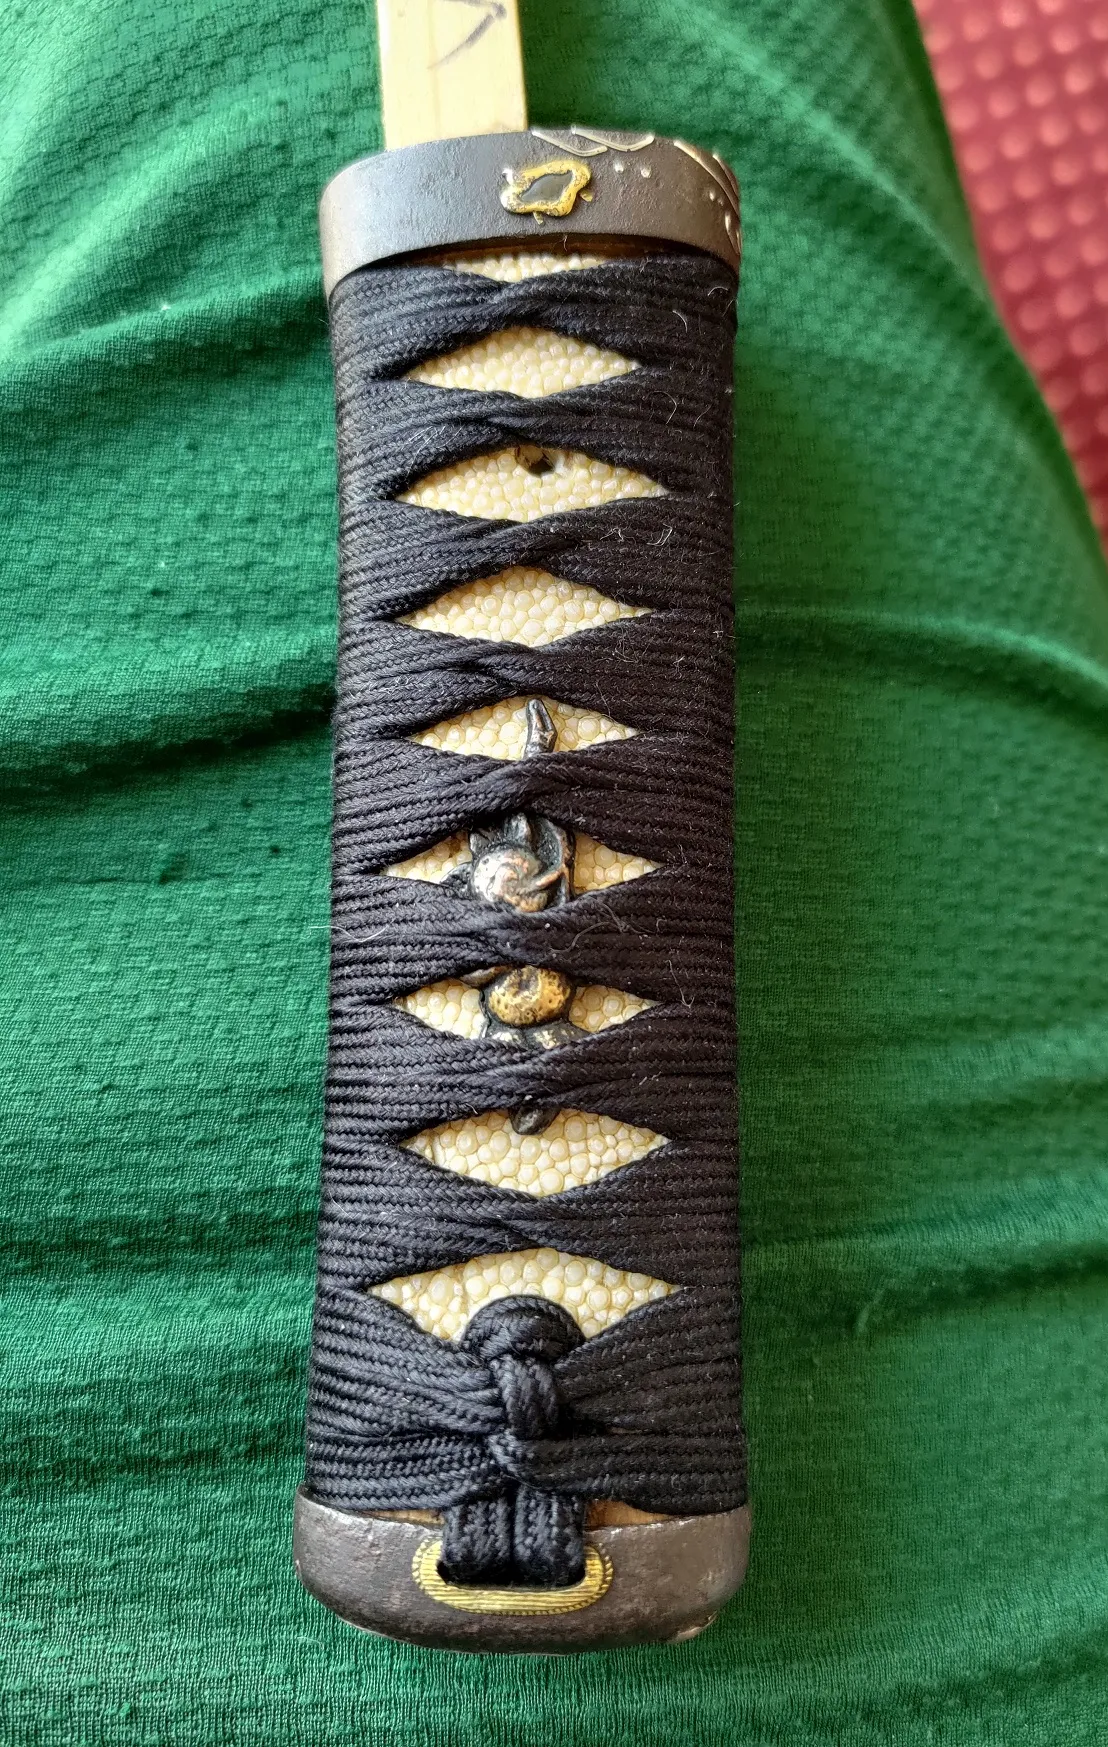
Wrapping the handle is somewhat difficult, but not impossible. The silk band needs to be kept tight the whole time (the rosin glue helps a little), and it needs to be folded consistently. It’s also quite tricky to get the triangles in the right place and keep them there, until you get the hang of it. An awl that has been rounded off smooth on the tip helps a lot to do it without destroying the paper and silk. The DVD I bought was pretty good at showing how to do it, and it was especially helpful on the tricky end parts where you tie it up. I had also watched my sensei do this in person in a slightly different way, and I think there are a few different ways to do it. I’m very happy with the way mine turned out.
One intersting point here is that the DVD recommended sandwhiching the silk band between two pointed pieces of cellulose plastic (I think, like old film material) to feed the silk through the tight places at the end. I am pretty sure that’s what my sensei uses as well, but I wonder what they used in the Edo times. I ended up cutting up some PET bottles for this instead, and it worked totally fine.
Finishing
After wrapping, I used a lighter to carefully singe off the stray lint threads, and then I wiped it off and mounted it back on the wakizashi.
