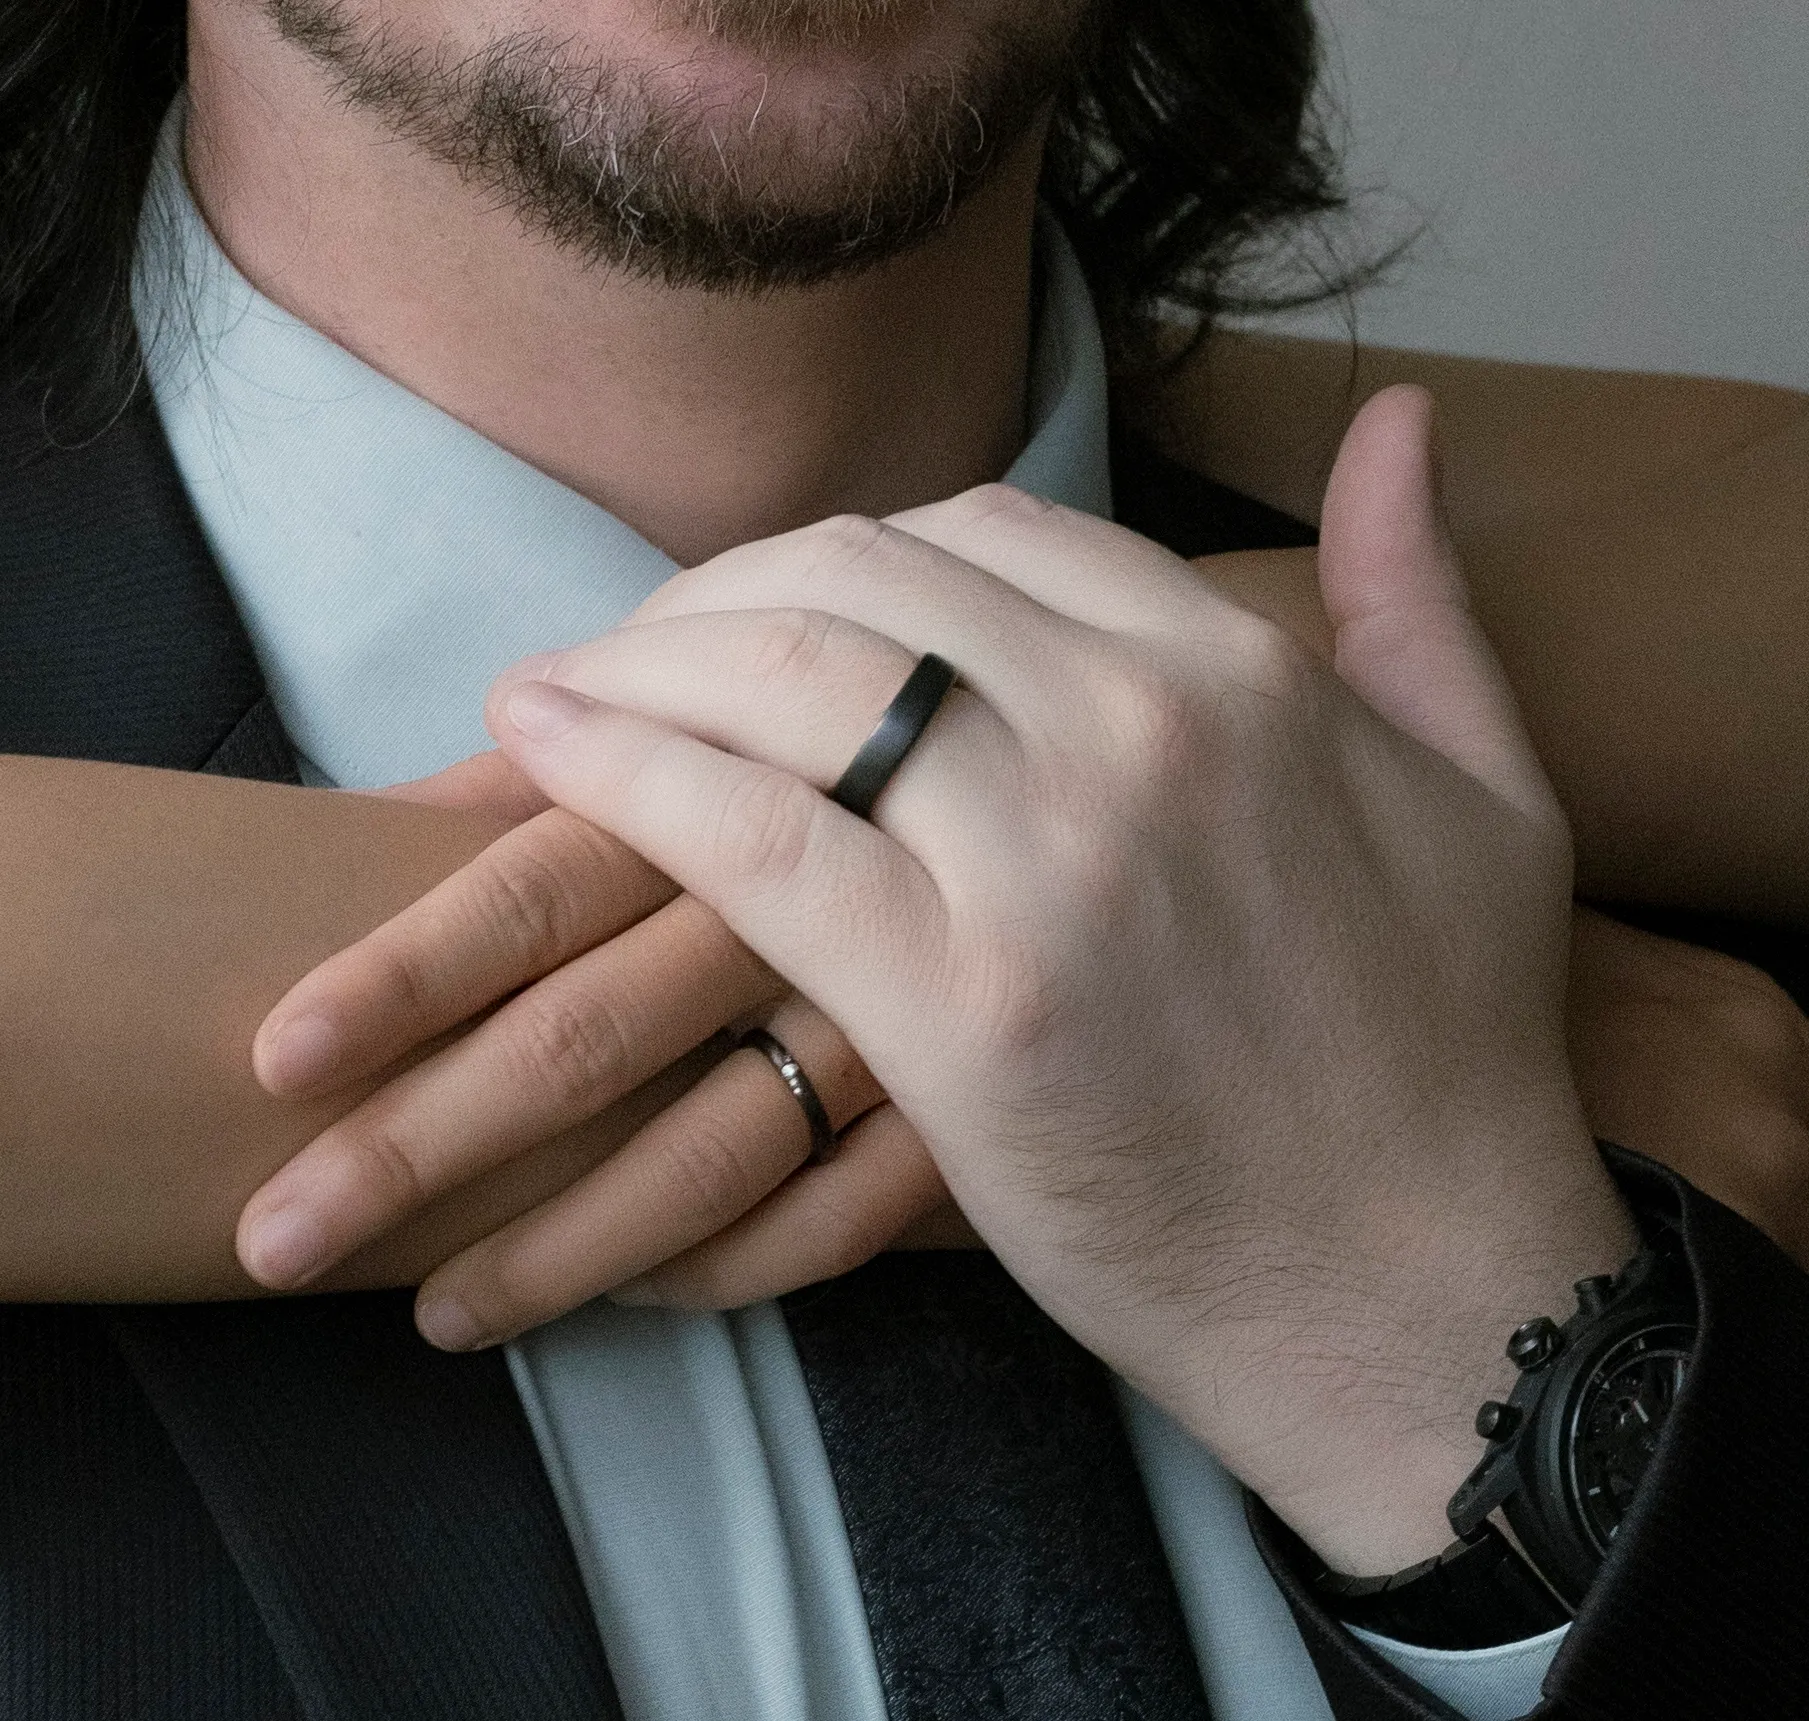
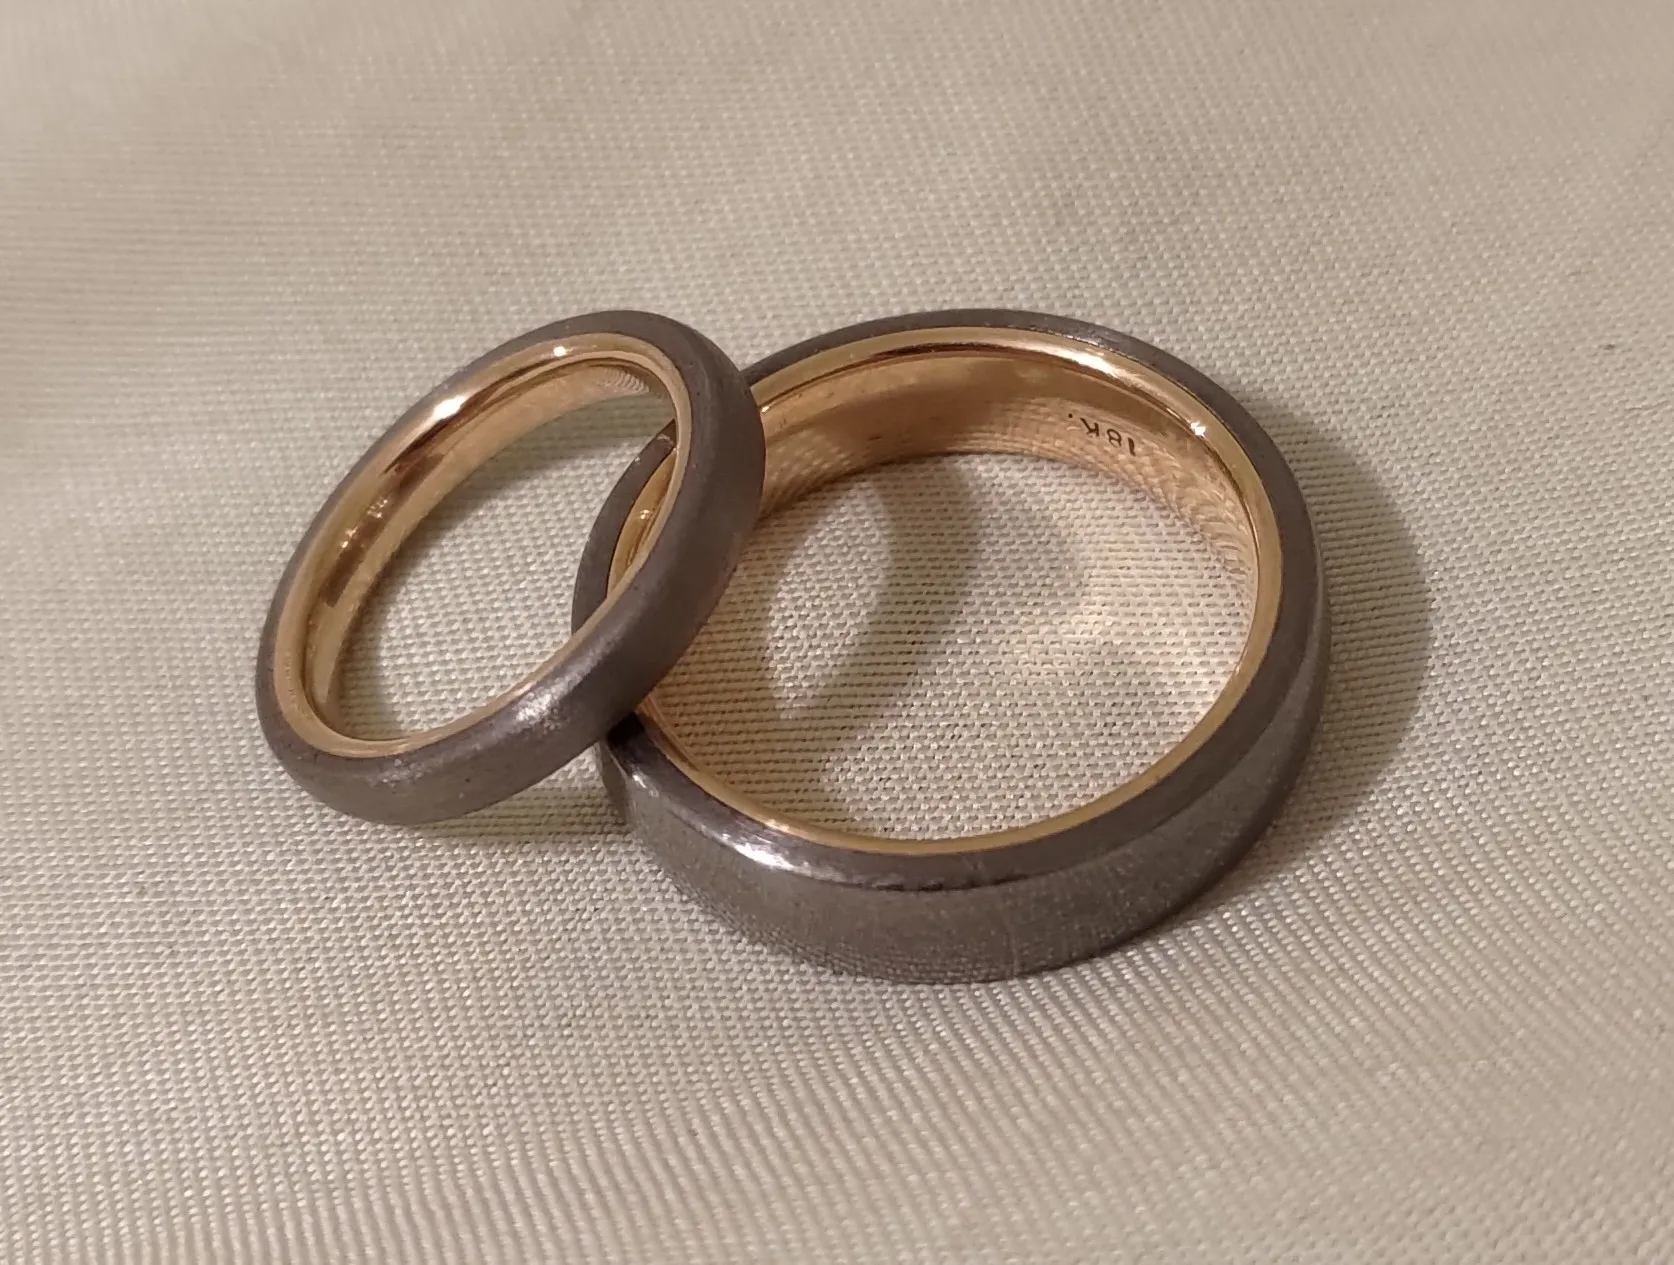
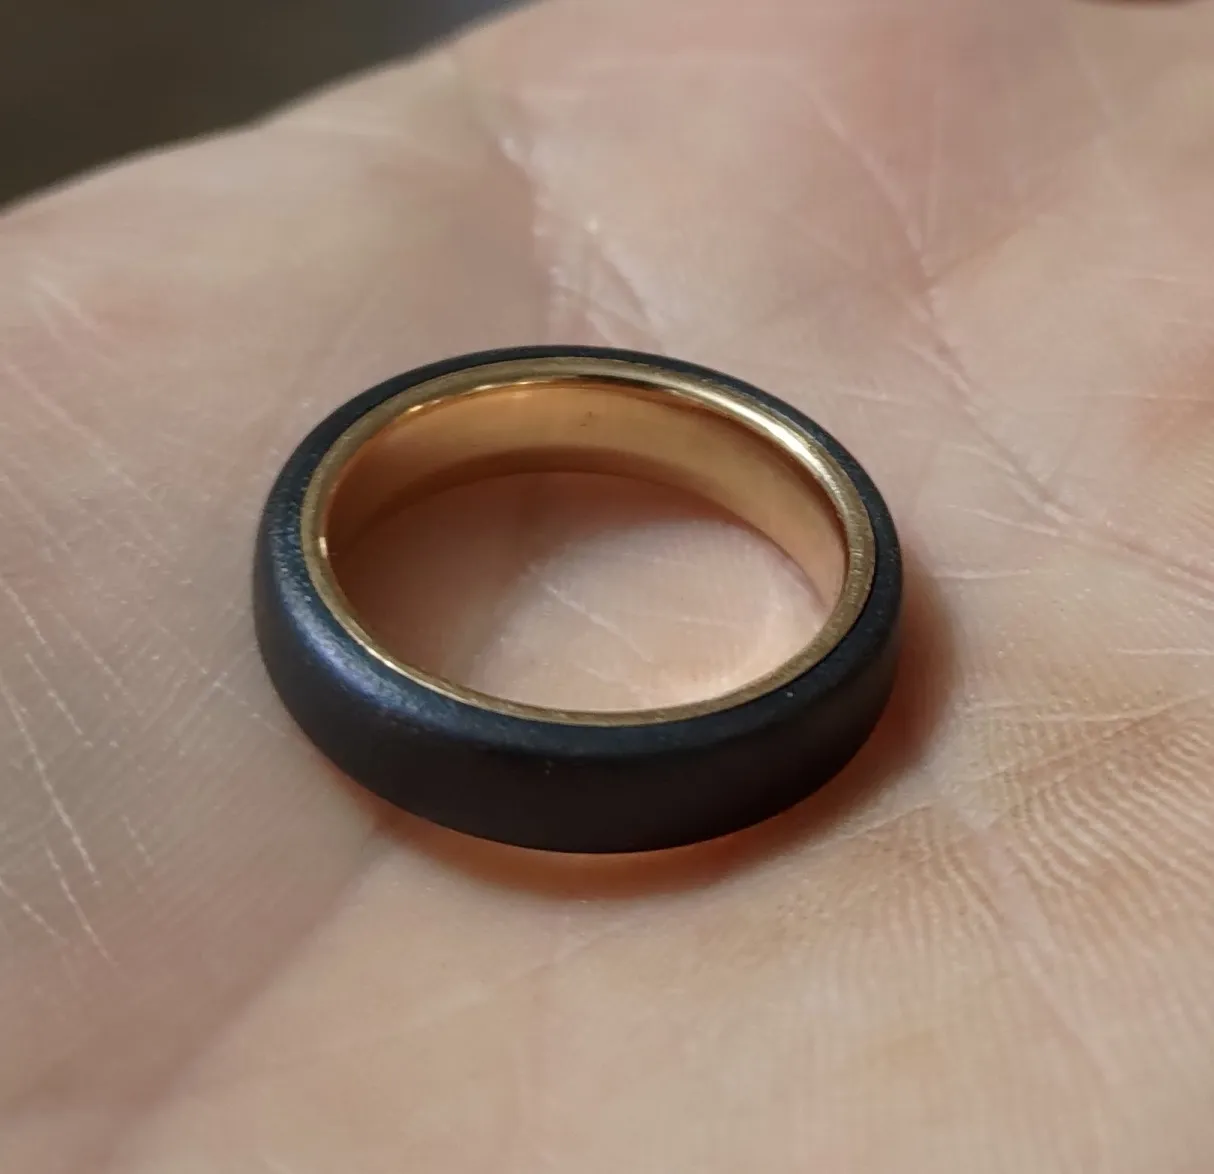
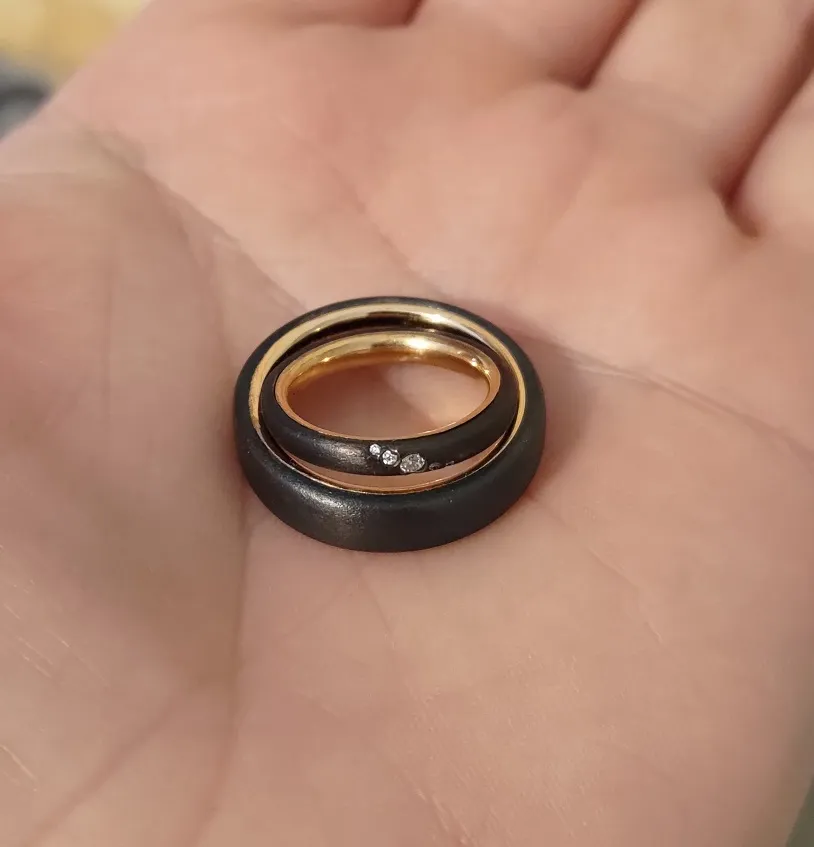
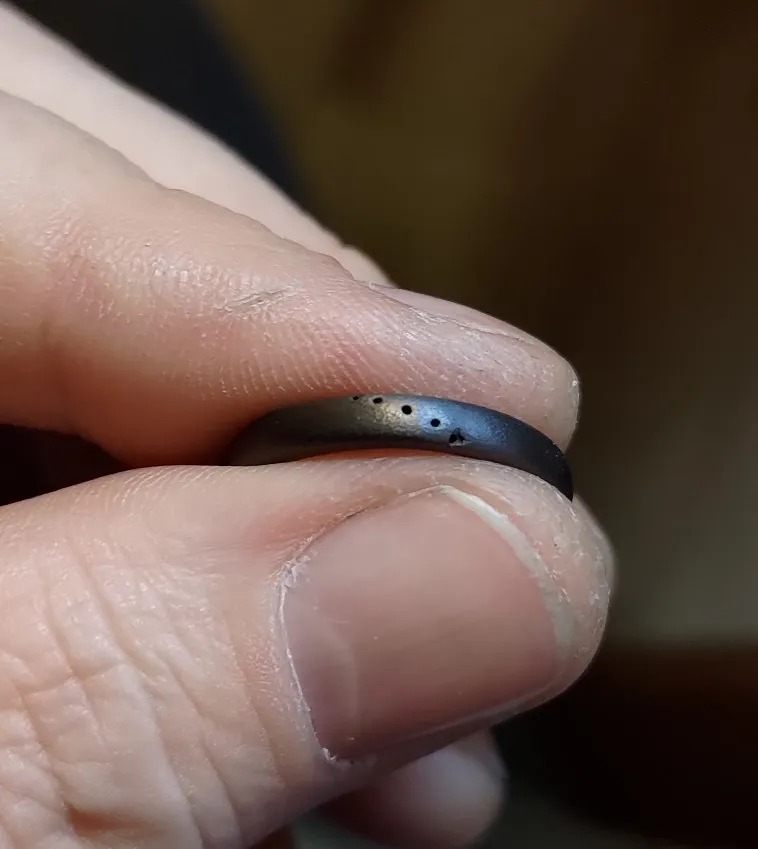
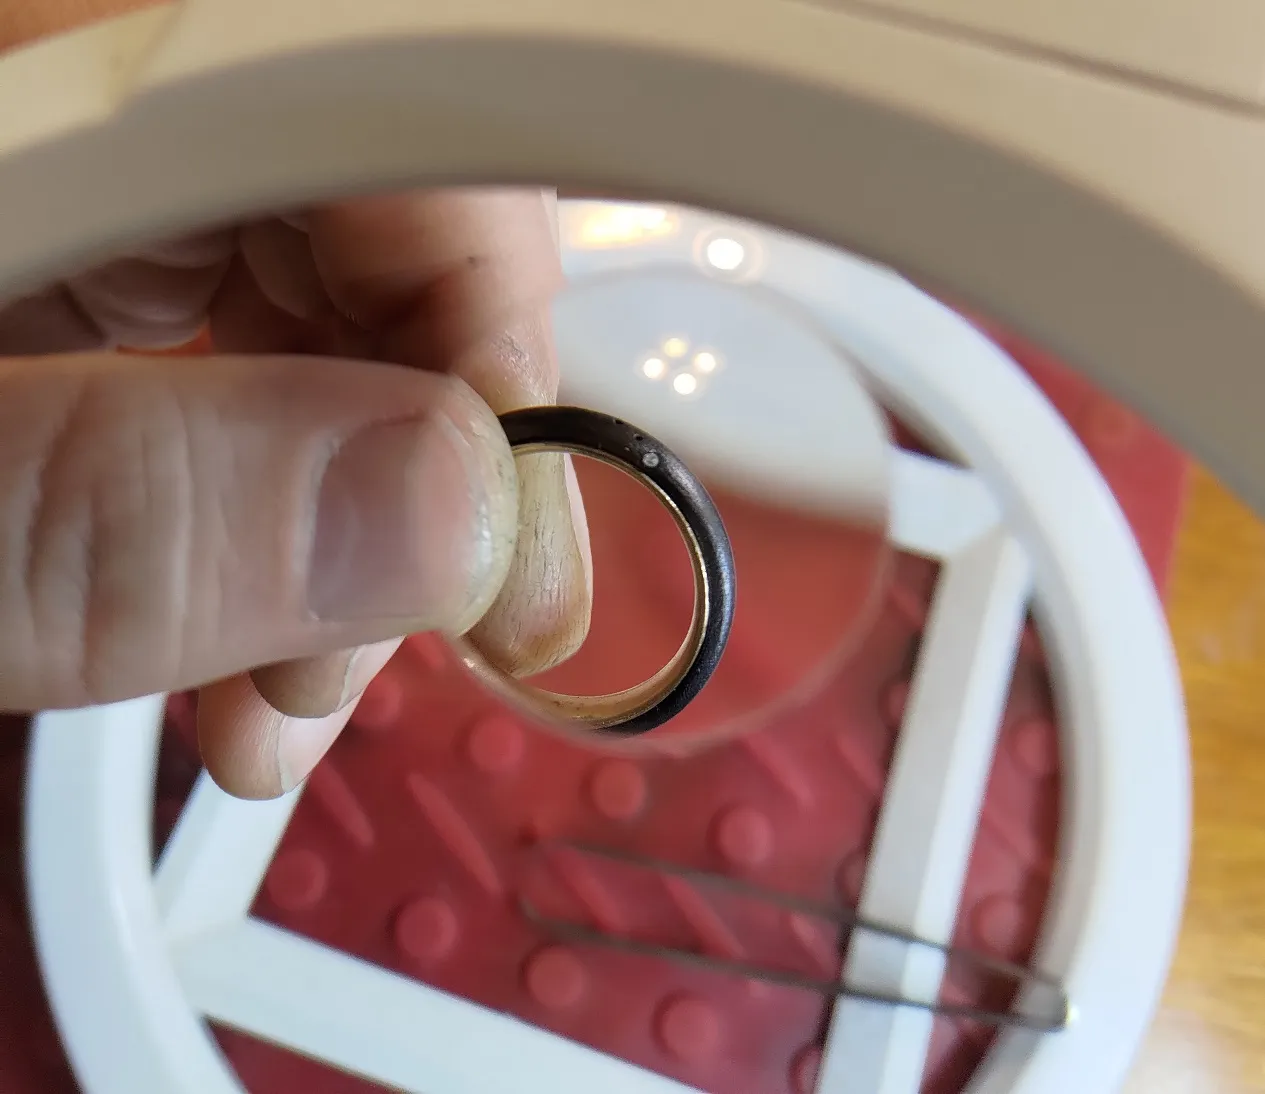
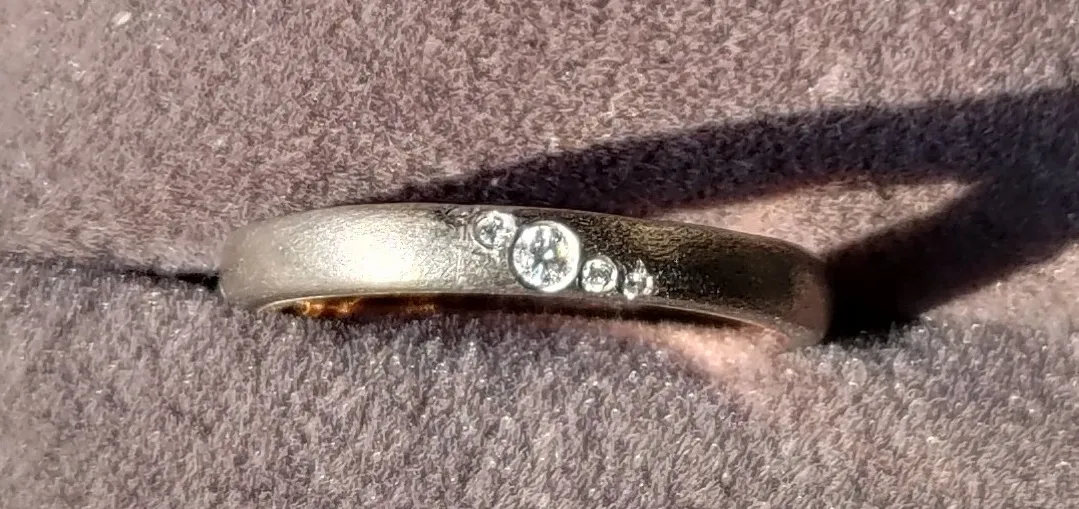
I decided to make wedding rings for my wife and I, and we both liked the idea of black rings. After researching various black ring materials, we decided on blackened Tantalum with 18K rose gold inner sleeves. The rose gold matches her engagement ring. The small ring also has 5 small diamonds flush-inlaid in a curve pattern
Tantalum is hypoallergenic, won’t shatter, can be cut off in an emergency, and can be re-blackened if needed. Also, tantalum is a very rare metal, so perhaps the value will go up in the future. I personally also like that it’s roughly as heavy as gold. Unfortunately, it’s also kind of difficult to work with.
After trying out various finishes on a test ring, we decided on a brushed matte finish. The small ring is 2.8mm wide and 2.4mm thick with a rounded profile inside and out. The sides are straight, in order to highlight the boundary of the gold and tantalum. The large ring is 5.5mm wide and 3.0mm thick, and also has a rounded profile with straight sides.
Construction
The rings are both made from a tantalum tube I purchased from Jewellery Training Solutions, which is 22mm OD x 18mm ID. I also purchased the inner sleeves as pre-made wedding bands, rather than make those myself. I didn’t want to buy a bunch of tools and materials for that, and it was actually cheaper than I could buy the materials as an individual.
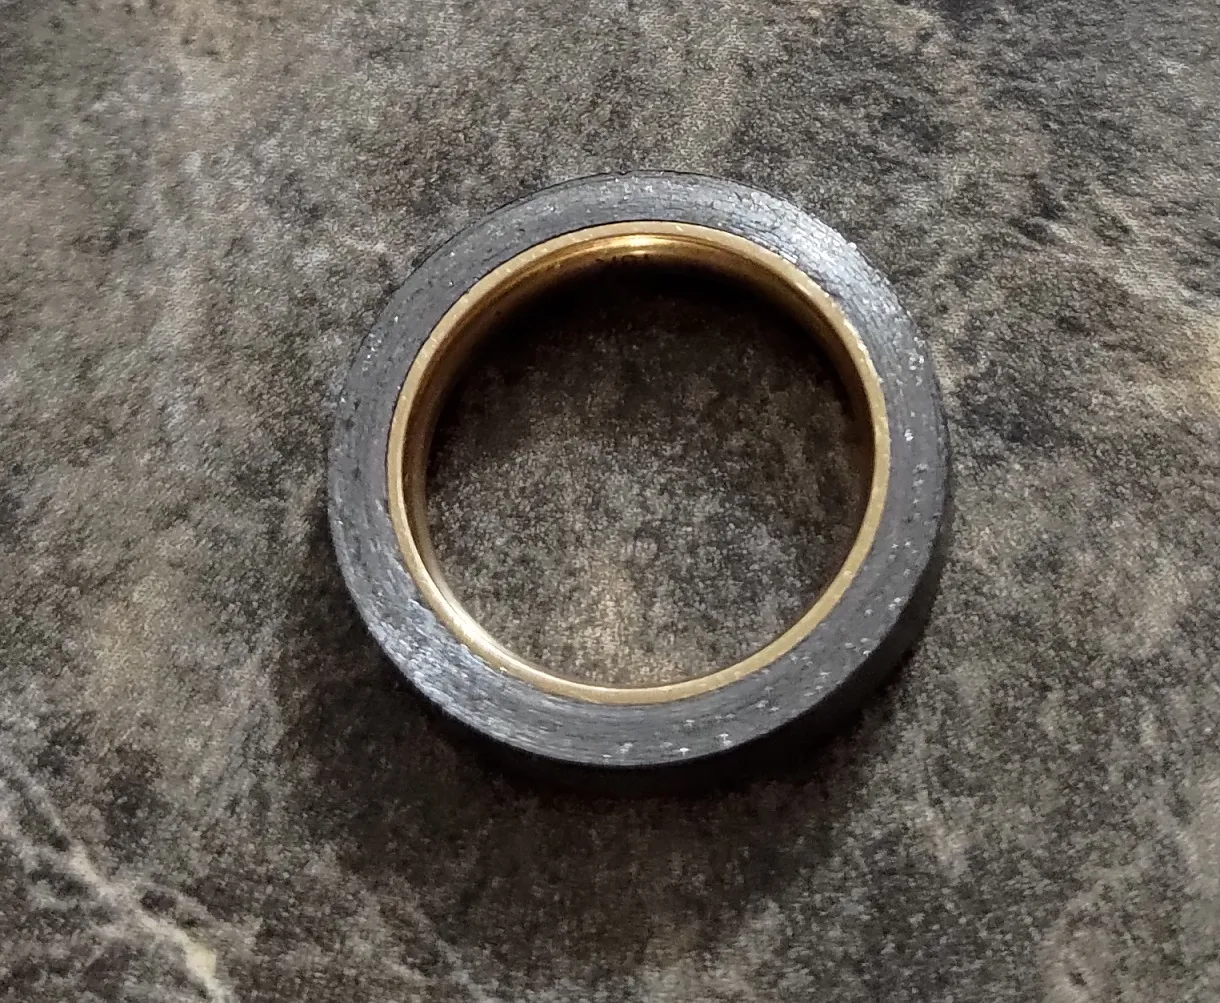
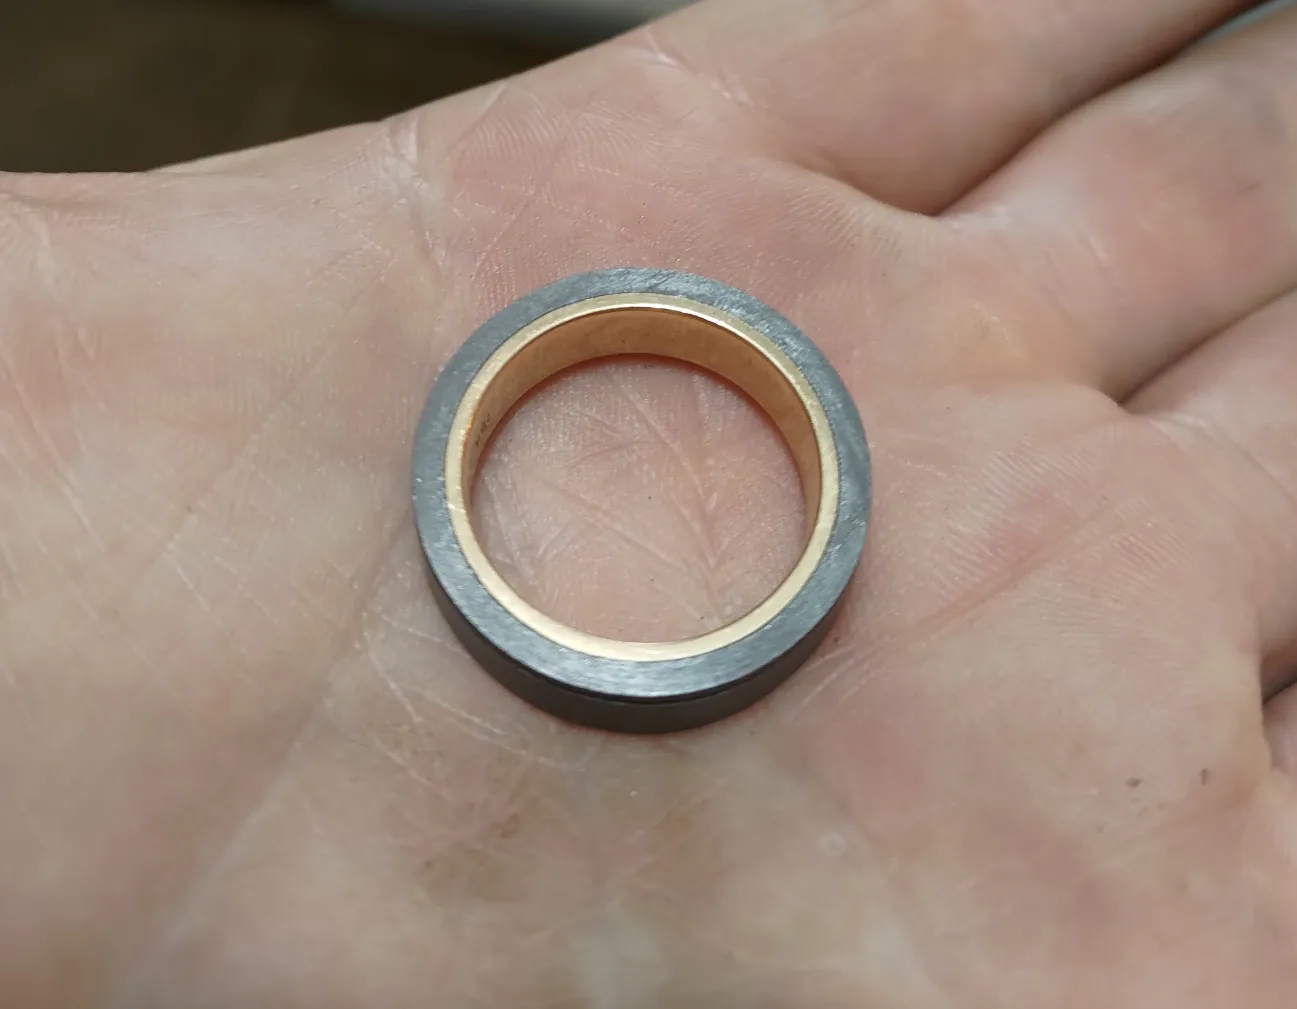
For small ring, I used a die and press meant for making coin rings to shrink it down to roughly the correct ID, minus a little, using my arbor press. Afterwards, I turned it on my mini lathe to the right ID for a press-fit with the gold band, and for the correct OD size. Next, I turned the gold sleeve to make sure it was completely flat on the outside, and I also rounded off the inside a little more. I pressed it all together, and then turned the OD profile of the combined ring on the lathe. I figured this would give a truer round than doing it separately.
For the large ring, I instead used a cheap ring expander to stretch it out, and then turned the ID for a tight press-fit with the gold band. Then it was basically the same process as with the small ring.
Blackening
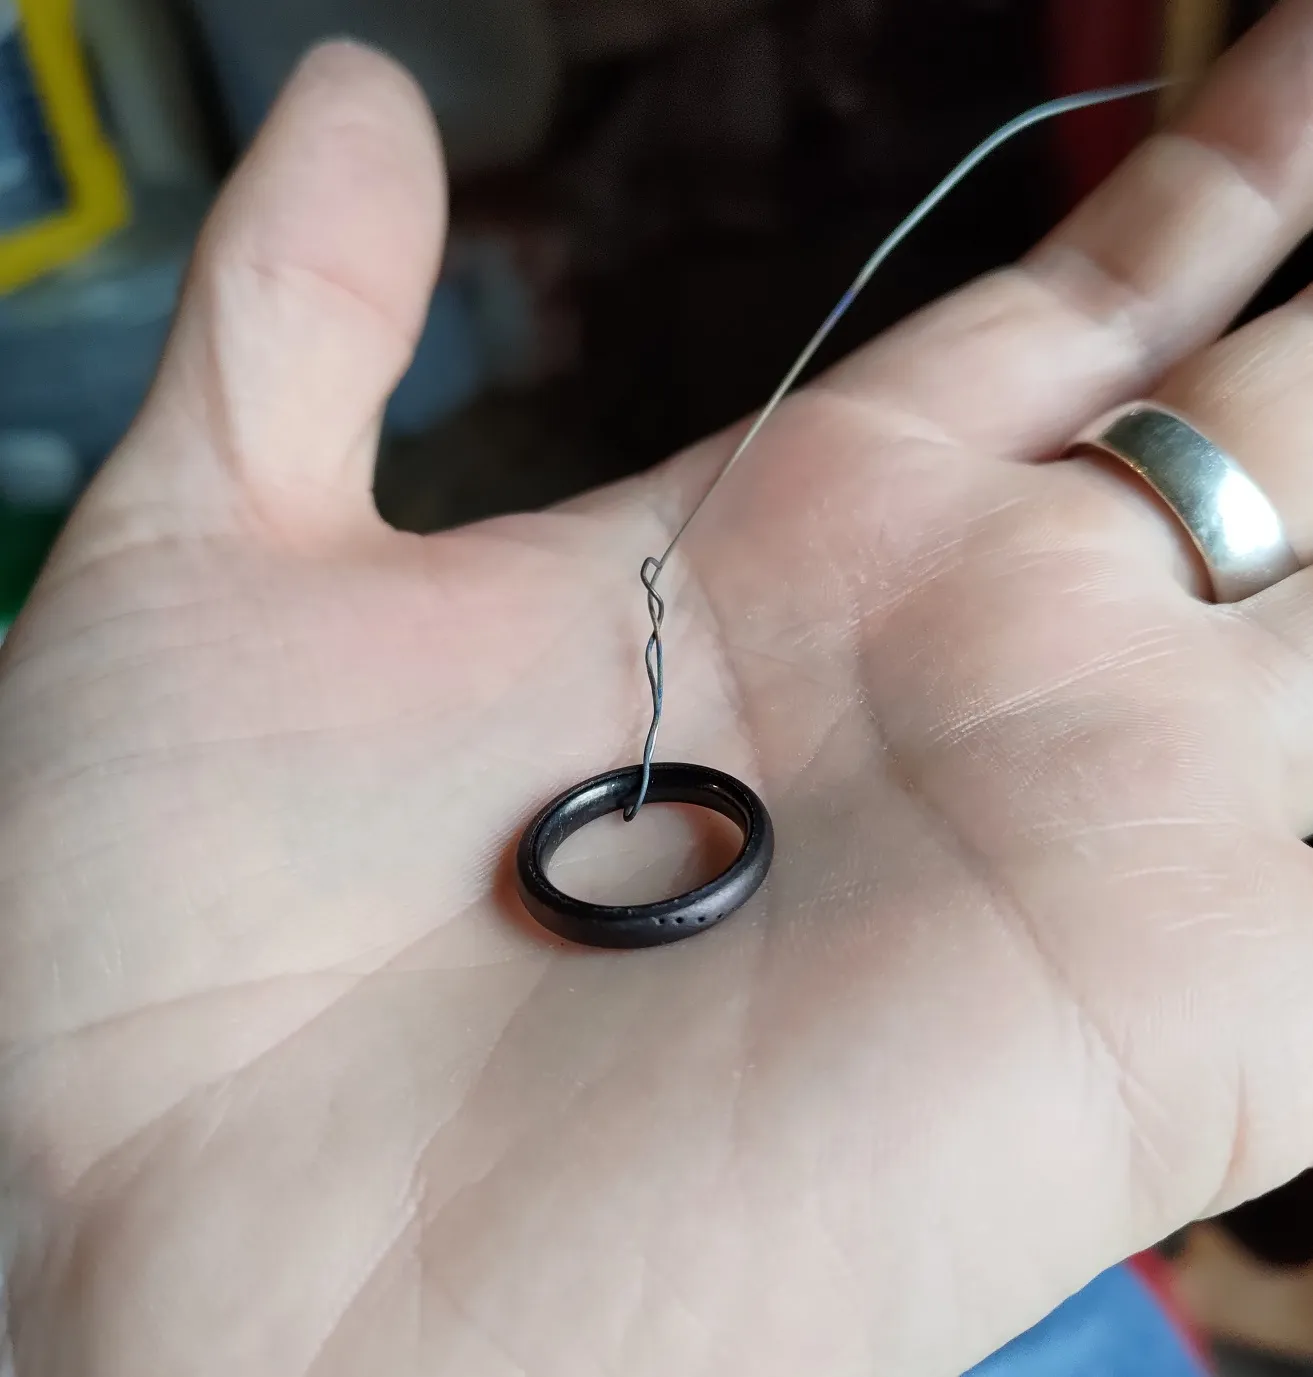
Unfortunately, I had to learn a lot with the blackening, and it was extremely frustrating to get it right. I originally believed that it could be blackened to the degree I wanted at around 200C, but that did not work out for me. It is critical to get the temperature right, or else the color will not be an oily black, but either golden brown or a very dark grey, or even a whiteish gray. Unfortunately, I did not have access to a precise oven in which to experiment and find exactly the right temperature.
I will check my notes on this and update it in the future, but basically it needs to be heated until it just starts to look sweaty, and then cooled slowly. Too hot, and it goes dark grey (almost black). Even hotter, and it gets a whiteish film over the gray. It can help to do it a few times, but then it is also very easy to get a blue/purple hue, especially if the surface is not 100% clean. I must have done the big ring 10 times before I got it exactly right, brushing it down to bare metal each time.
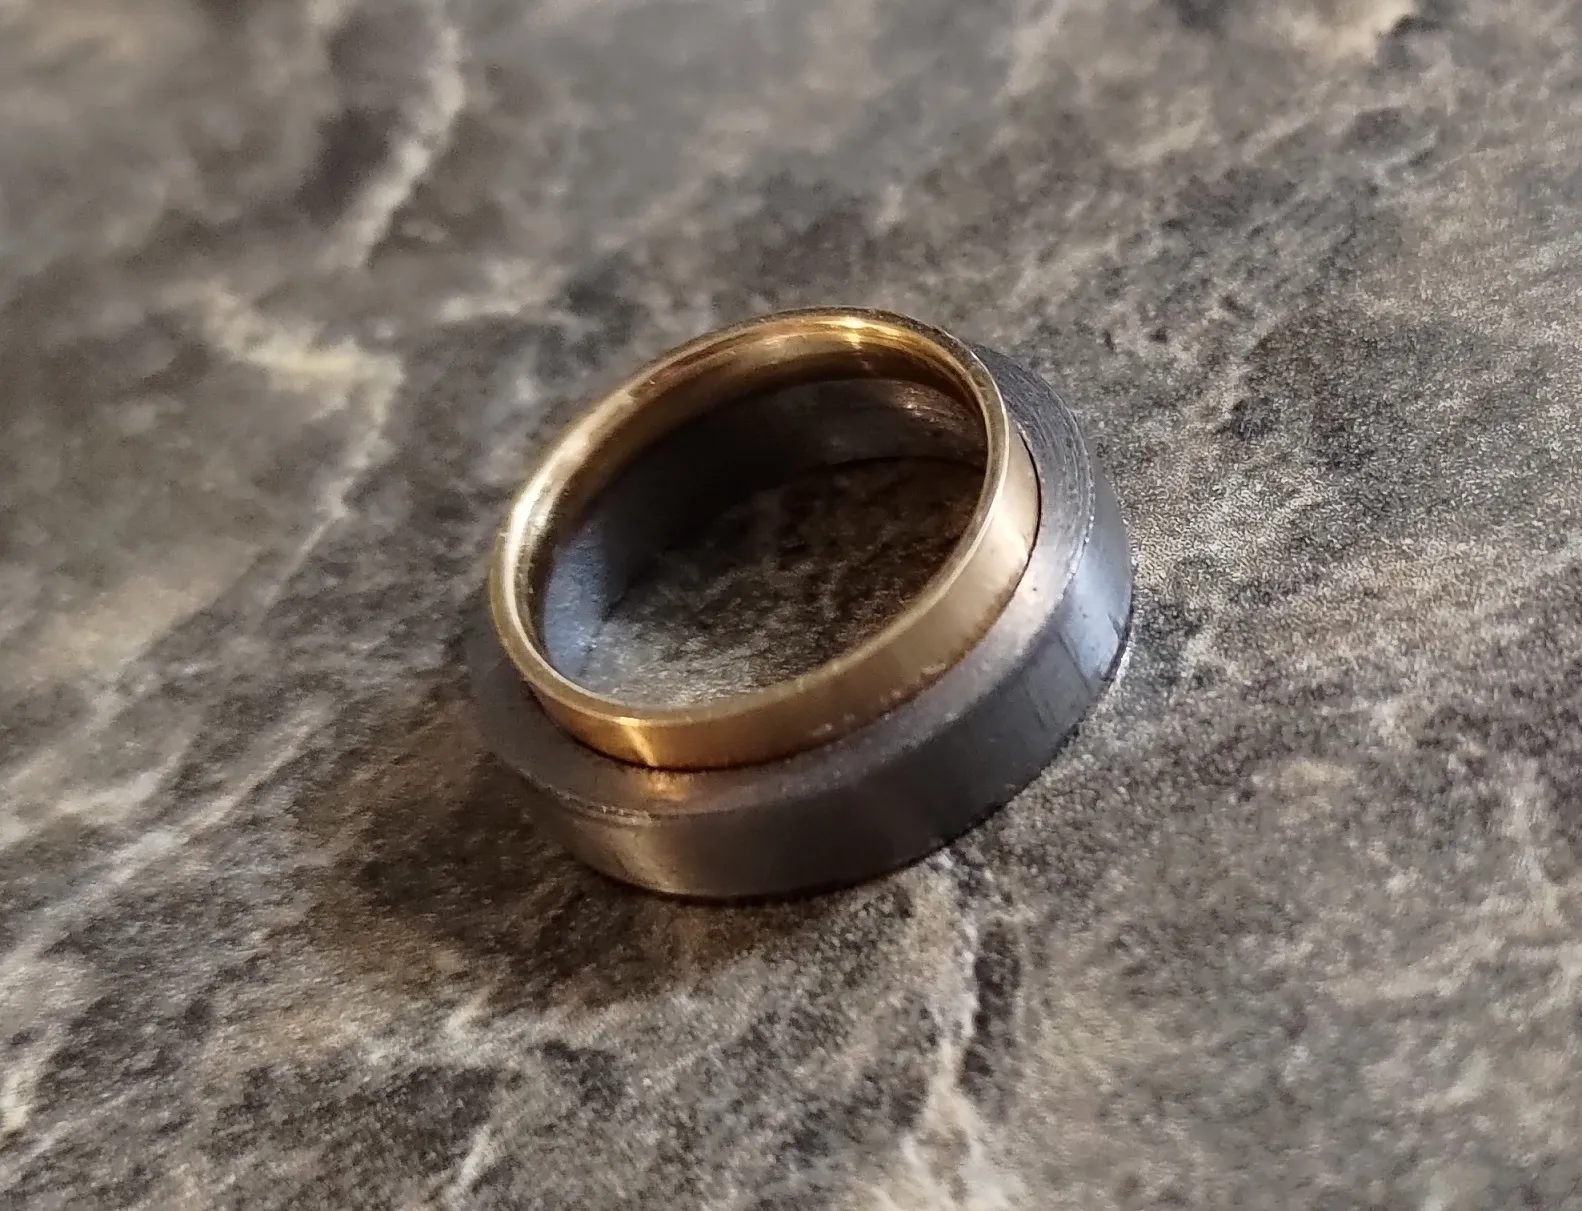
A side-effect of the blackening is that 18K rose gold and tantalum do not expand at the same rate, and they do not flex and yield the same. Basically, after cooling, the gold ends up smaller than the tantalum and the press-fit is broken - not to mention, the gold ends up black and needs to be polished manually (pickle might remove the tantalum blackening). Next time, I would completely finish the tantalum before pressing it together with the gold.
Diamonds
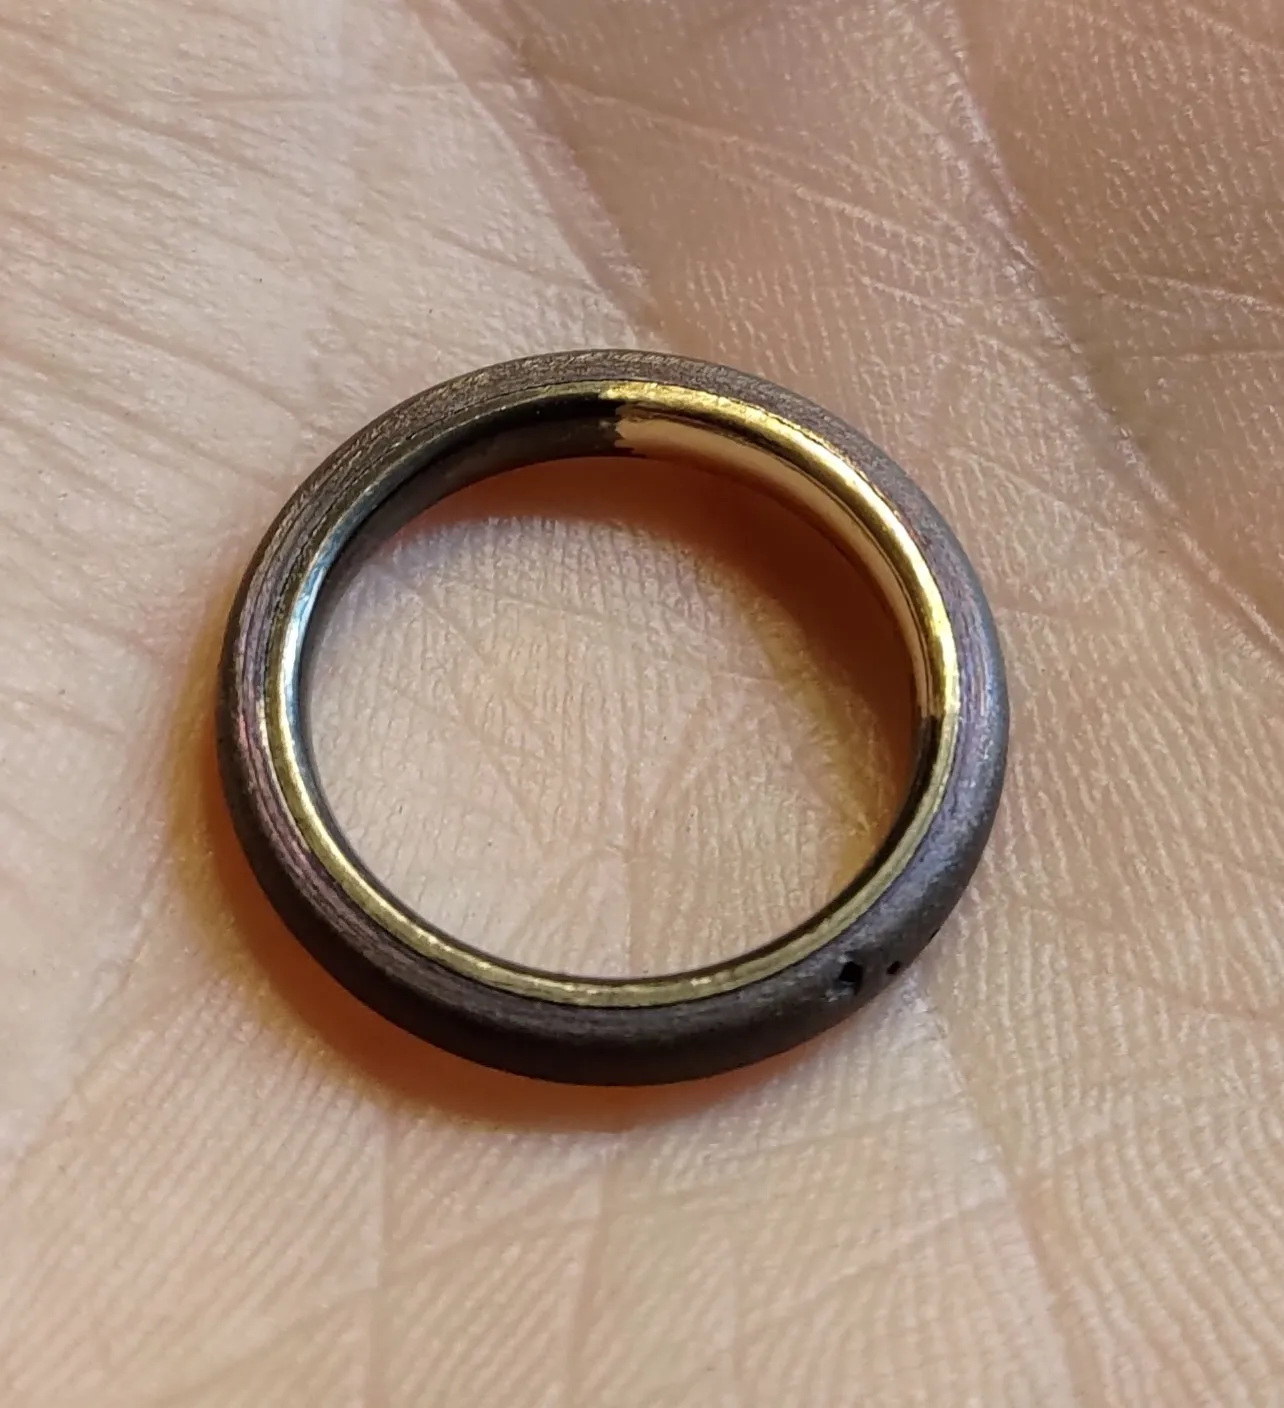
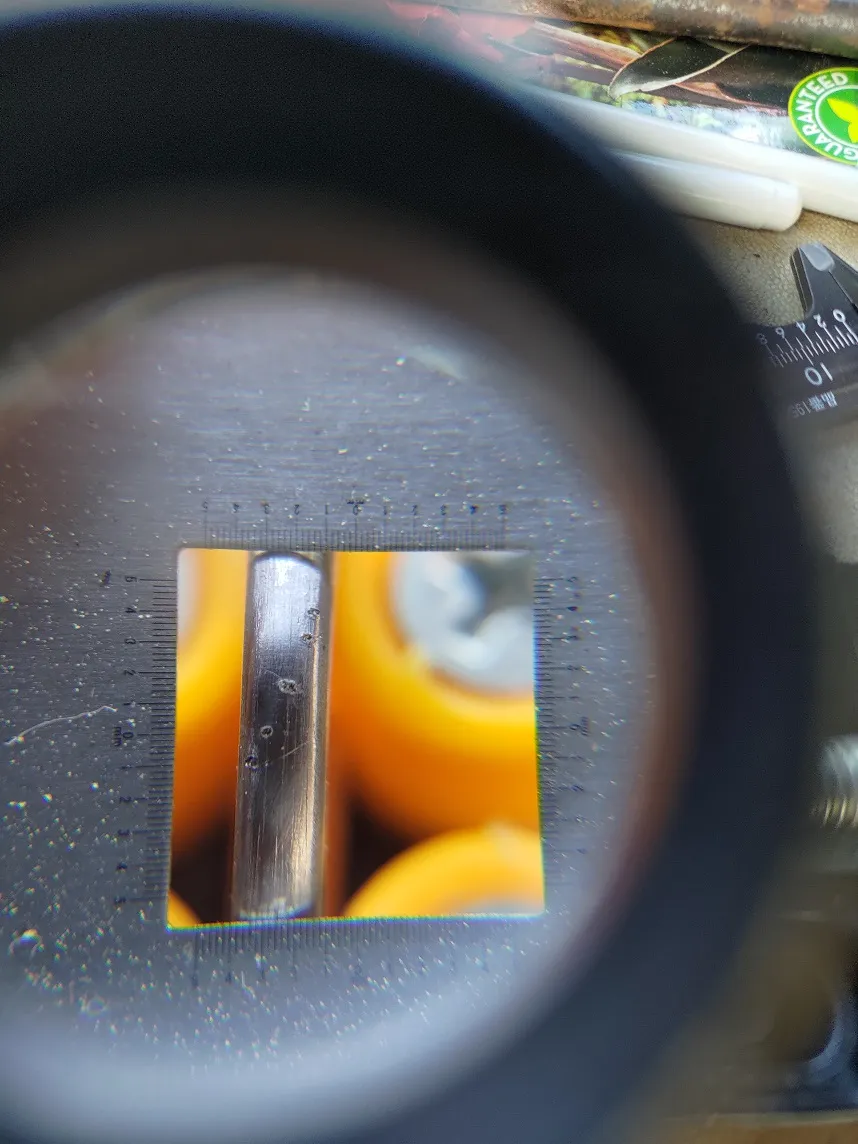
I did have the foresight to not try blackening the ring with diamonds in it, however, I did drill the pilot holes first. I used stone setting burs to shape the seats of the diamonds, and this was really a pain for the 0.8mm diamonds! Afterwards, I made my own burnishing tip from a spent bur and burnished around the diamond to squeeze the ring material onto it. There are videos of how to do this on youtube.
I am afraid of what will happen if I need to re-blacken the ring or resize it in the future. The diamonds could come loose and need re-setting.
Extra Ring
After my brother saw my ring, he asked me to make him one as well. He had (I think) a stainless steel ring with wooden sleeve, and unfortunately his work is too rough on the ring, and the inlay came loose multiple times. He usually wore a silicone ring to preserve his real one.
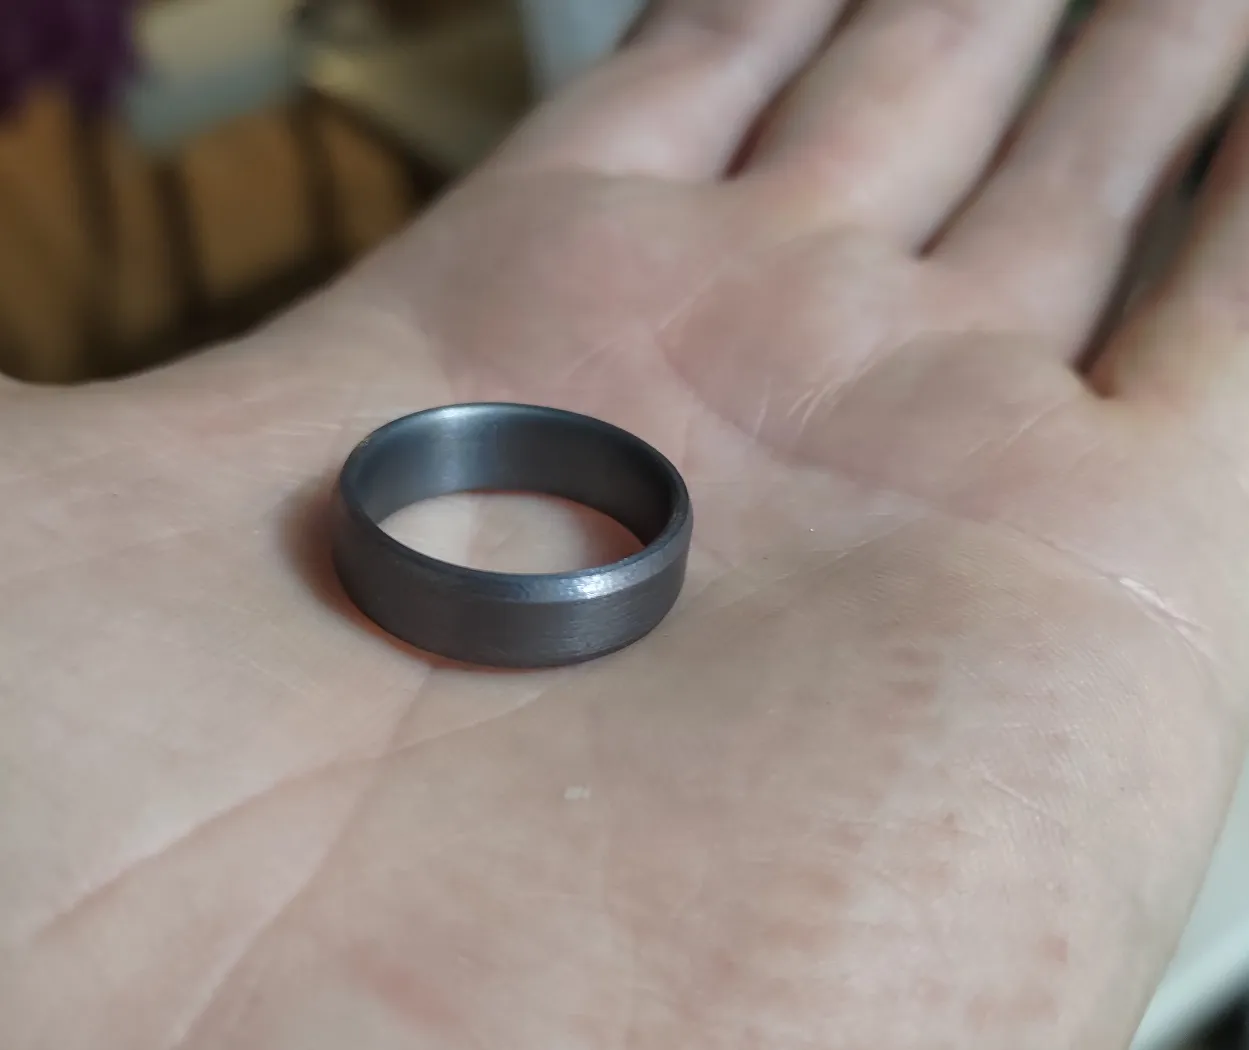
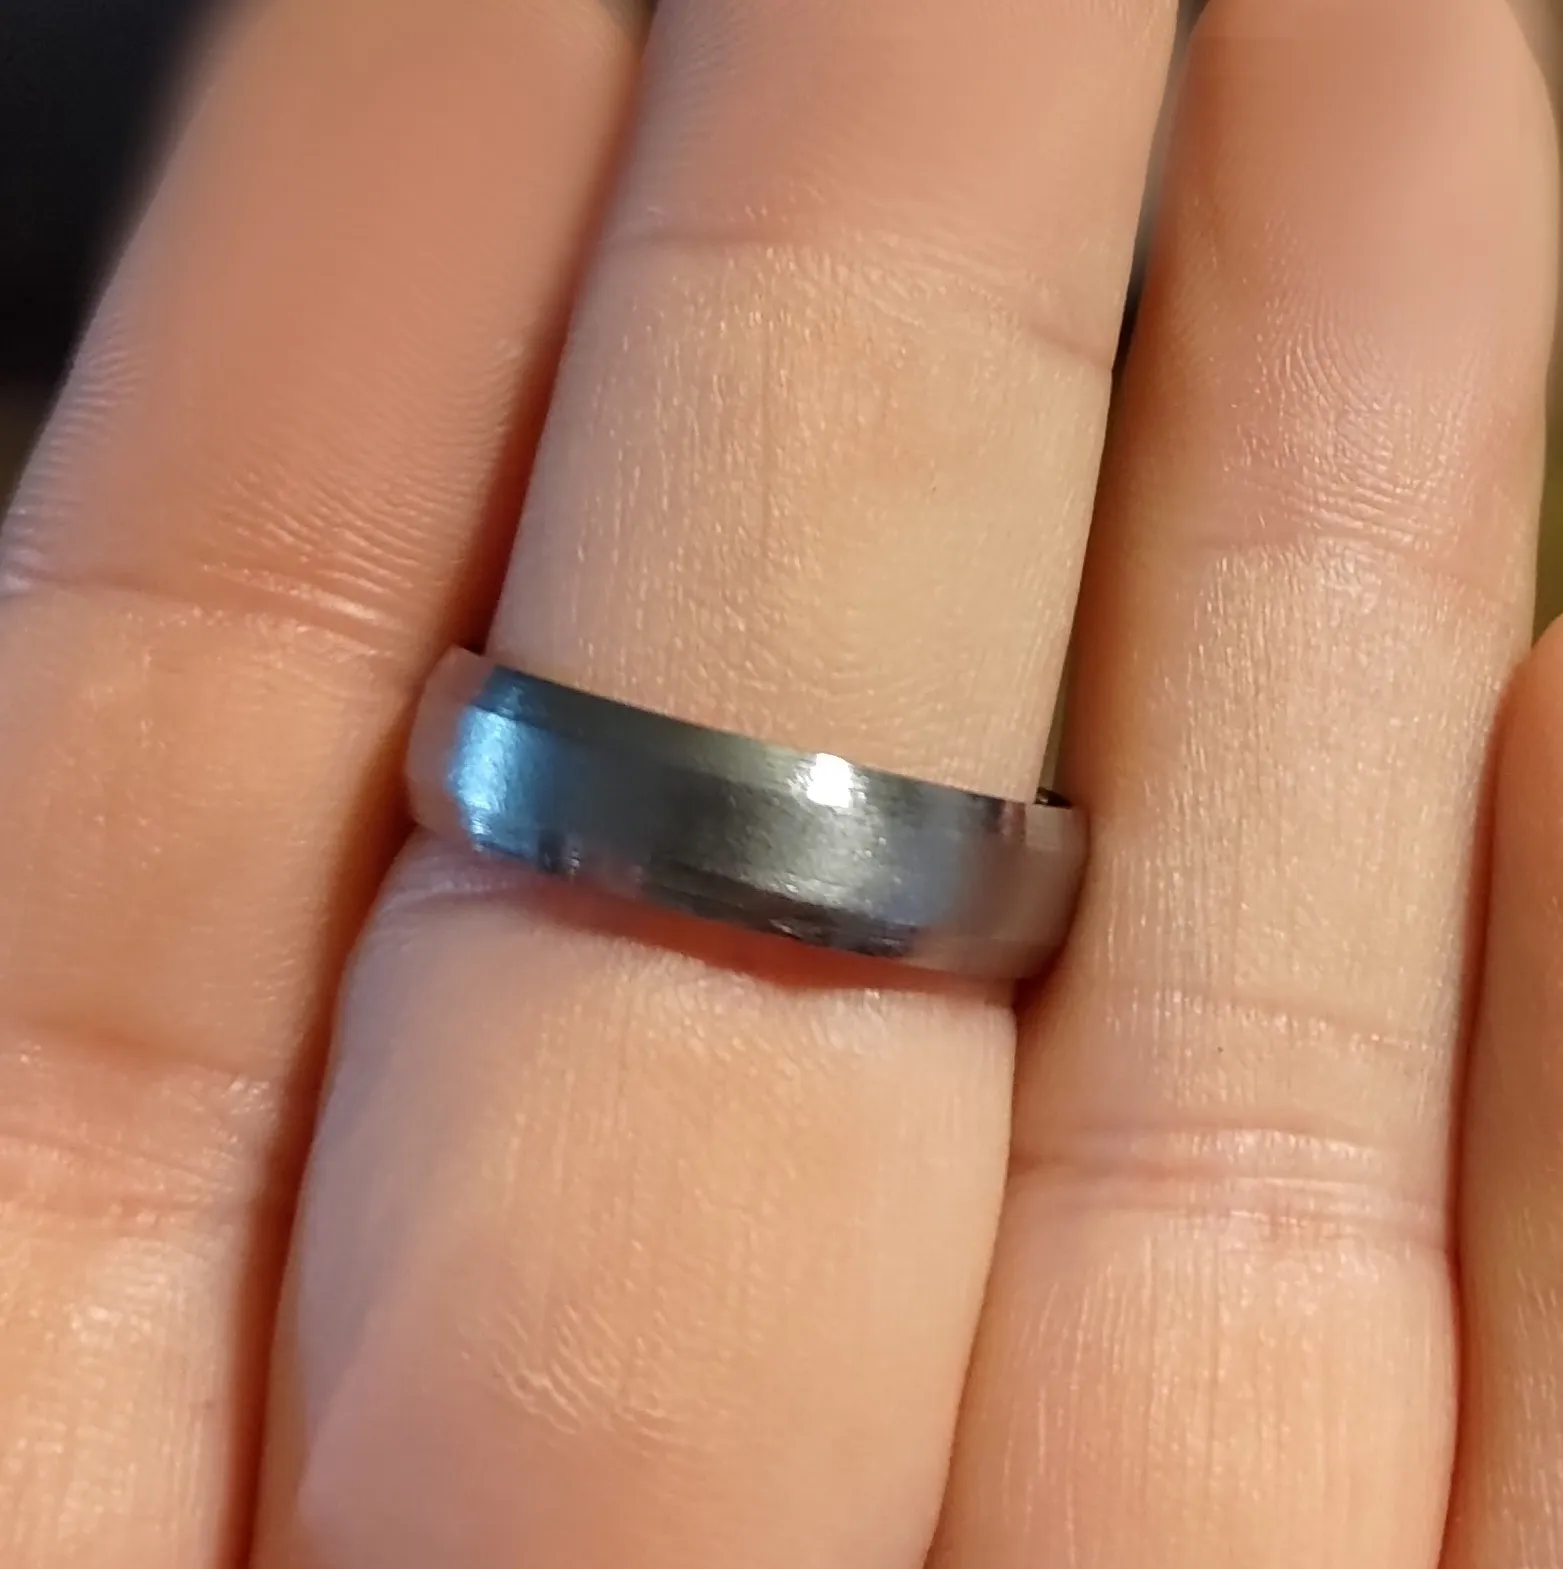
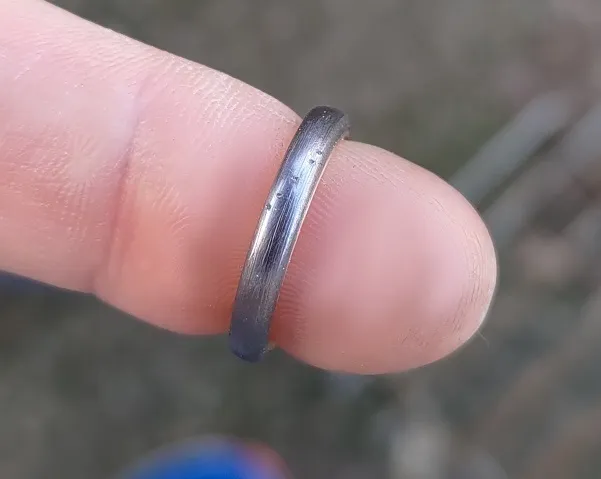
I made him a plain tantalum one with bevelled sides and a flat outer surface to match the style of his other one, with a curved inner profile for comfort. I polished the bevelled parts and brushed the middle part, and after seeing it before blackening, he decided to keep it that way. I showed him how to blacken it, in case he wants to eventually.
